DIY: Installing an extractor fan

DIY: caravanning projects to try yourself
Keeping cool in your off grid caravan
Caravan finds it's easy to install a ceiling mounted extractor fan without drilling any holes!
Written by Rod Farrendon
Since we started going off-grid, we've been using a 12V clip-on fan for cooling. I must admit, he's a noisy little fellow. My wife, Kim, had also mentioned, that she missed the extractor/cooling fan that we had in our Bailey Wyoming – they stopped fitting them in the replacement Unicorn.
I had heard of the American-made, Maxxair Maxxfan. It seemed to fit the bill and more: extraction, cooling, ten-speed settings, temperature control, auto setting and very low energy consumption of 0.2amp on the lowest setting to 4amp on the highest setting (that's important when off grid). It even comes with a remote control (more energy saving!).
I love that our American cousins still use imperial measurements, so the supplied measurements are in inches. However, I'm not so keen that they still use screw fixings to the outside of their RV's.
We have moved on from drilling holes in our caravans, and tend to use adhesive bonding and clamping in the build and the fixing of accessories. Not to worry, I will convert, both measurements and fixings.
The Maxxfan
The Maxxfan arrives, and I lay out the main components:
- An outer flange that has been moulded to fit the standard 400mm x 400mm roof light opening.
- The fan unit
- The inner ‘garnish ring'. We'll call it the inner trim.
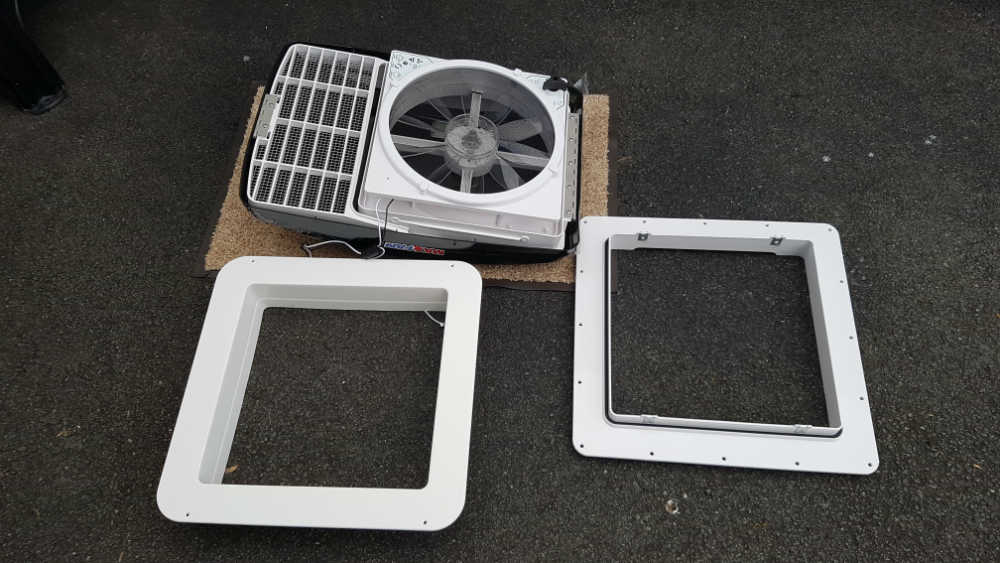
Above: The Maxxfan
Removing the roof light
The first and maybe most difficult job is to remove the Heki midi roof light.
Unscrew the inner trim from the outer flange (There are bushes moulded into the outer flange to receive the screws), this, in effect, clamps the two pieces to the roof and, together with the sealant, holds everything fast. I would like to have seen this in the Maxxfan.
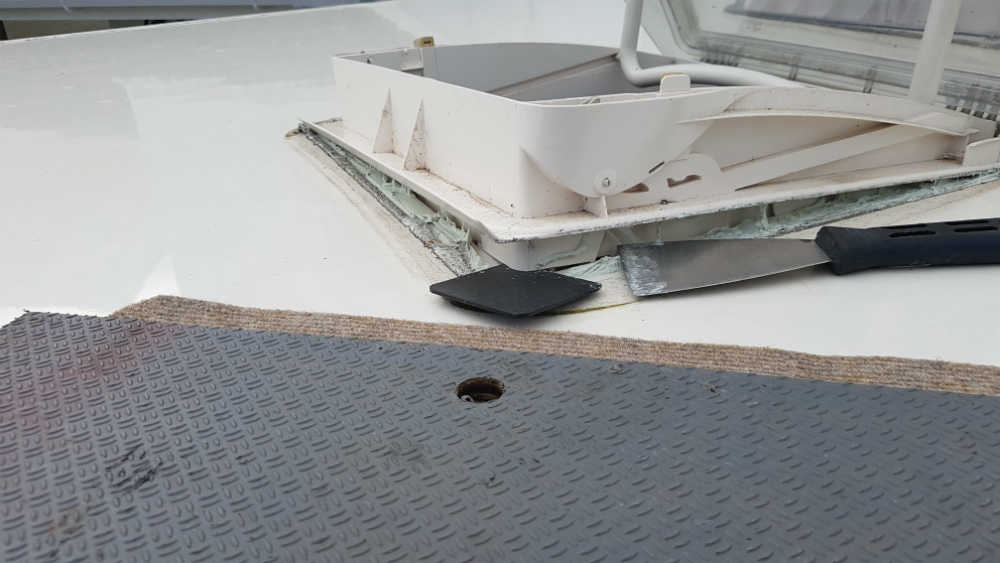
You need patience upon the roof. Using a flat-bladed metal scraper on top of the sealant, push the ‘blade' under the flange. A bit of wiggling may be needed to break the seal.

Repeat this all around the flange, (the idea being to keep the sealant between the metal scraper and the aluminium of the roof), then pull the surround gently upwards with one hand and carefully lever with the scraper.
If you have an assistant (I didn't) they can apply upward pressure from inside the van. When it does start to come away, you get the ‘chewing-gum effect', so use the edge of your scraper to cut through this.
You will see I have a mat with a piece of board on it; this is to stop me denting the roof with an elbow or knee.
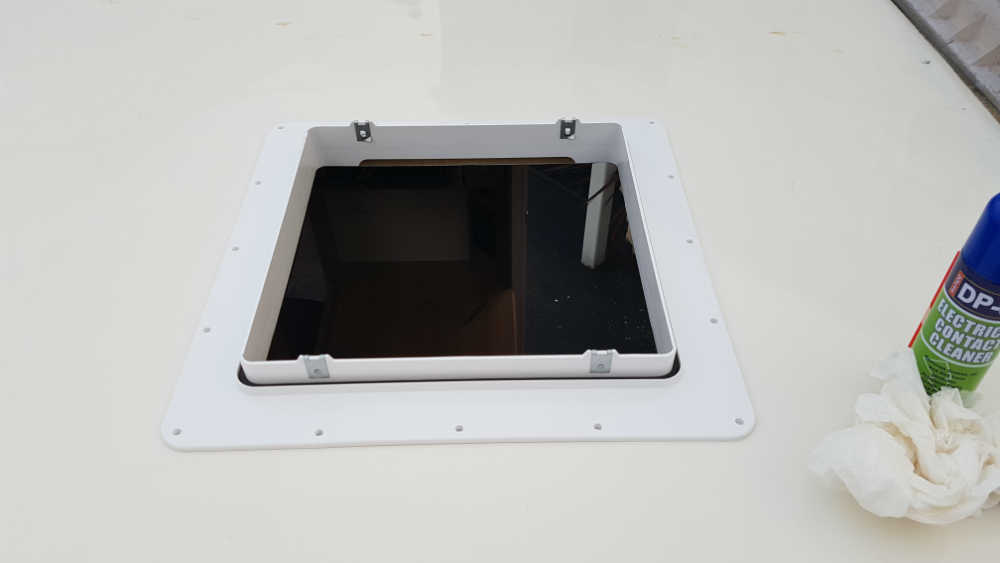
Remove the remaining sealant with a plastic scraper, then a rag and white spirit. Finally, for an ultra-clean finish, spray and wipe down with either brake or electrical cleaner. The cleaner evaporates very quickly and doesn't leave any oily residue.
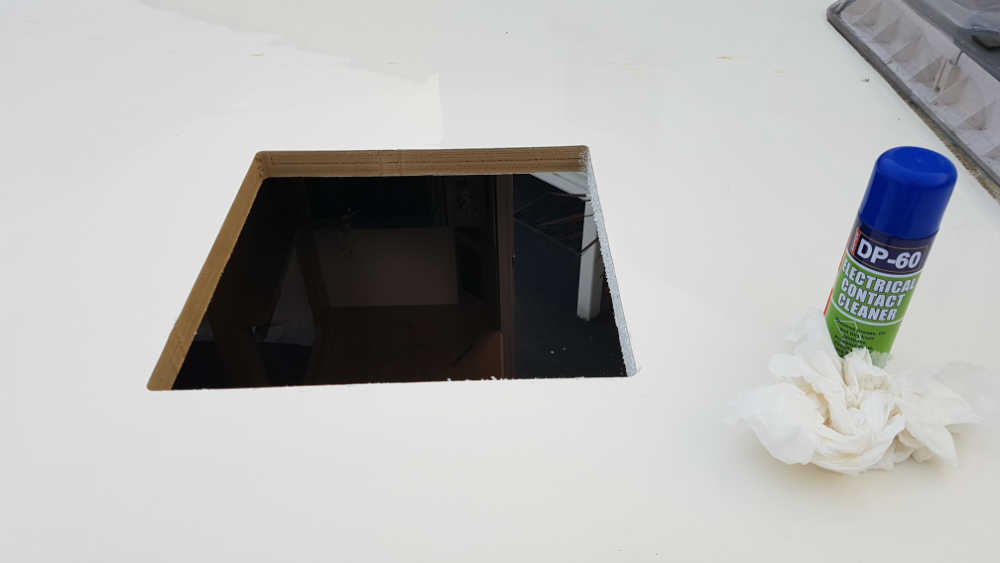
Remove the sealant and wipe down to remove residue
A check for fit.
Using sealant, not screws 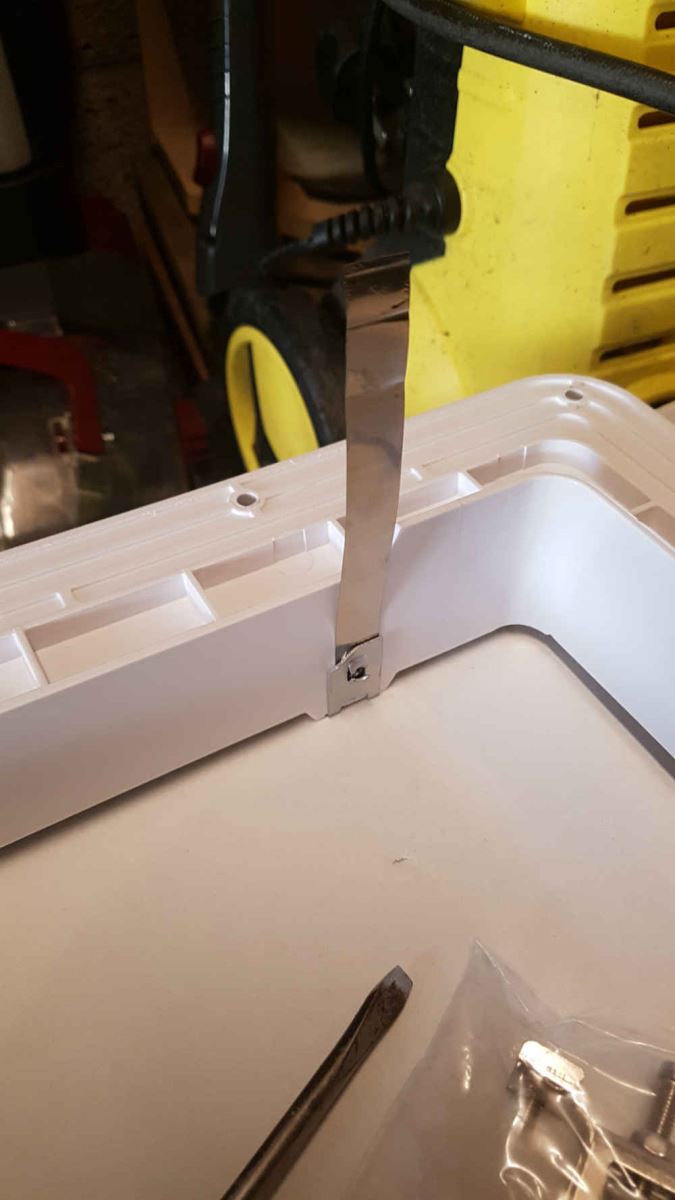
For the fixing of the Maxxfan, I used Soudal RV 61 sealant/adhesive, which I'd also used for bonding my solar panels to the roof. It sticks brilliantly, and I'm impressed with it. (£6.30 from caravan-components.co.uk)
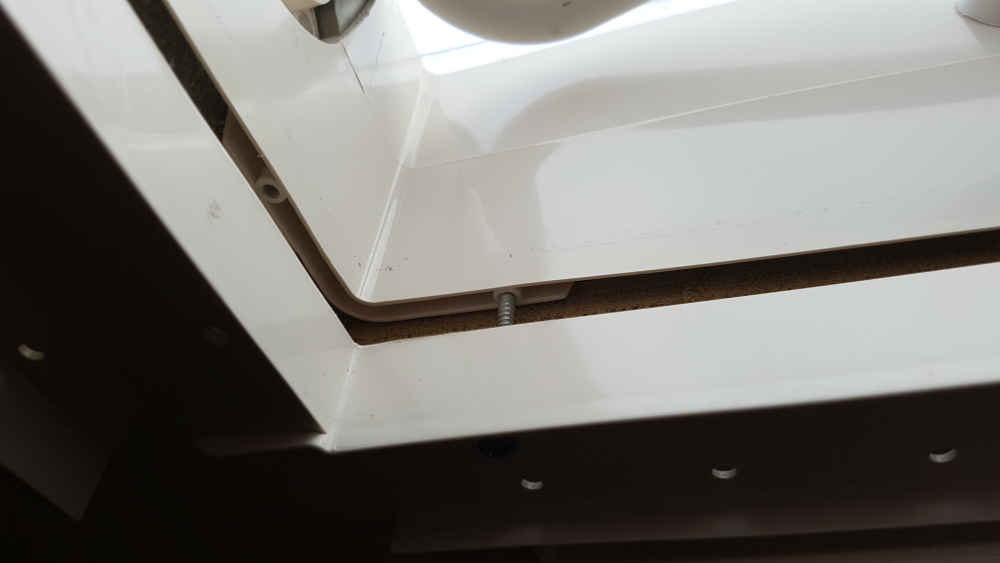
I don't want any screws going through the ceiling, so I had to devise another fixing method. I decide to use stainless steel straps about 100mm long with a hole drilled near one end and another hole drilled about 25mm in from the other end.
These will be pushed under the four U-clips on the outer flange, onto which I will screw the central fan unit. The holes align correctly. The straps I used come from electrical earth bonding kits and can be found in most DIY stores.
The electrical bit
The fan needs a 12v 5amp electrical feed. I have two lighting circuits in my van and, luckily, one of them runs very near to the opening for the fan.
I have already changed all the halogen bulbs in my caravan to low-wattage LEDs, I have calculated the amp rating of the circuit to be spliced into, the amperage used, including the fan, and allowed for the maximum amps based on the length of wire I'll run to the fan unit.
If the circuit hadn't had a superb safety facture, when maximum amperage was applied, I would have had to take a feed all the way back to the main circuit board.
The Caravan Manual, written by the late, great John Wickersham is a useful reference tool when carrying out this kind of reckoning.
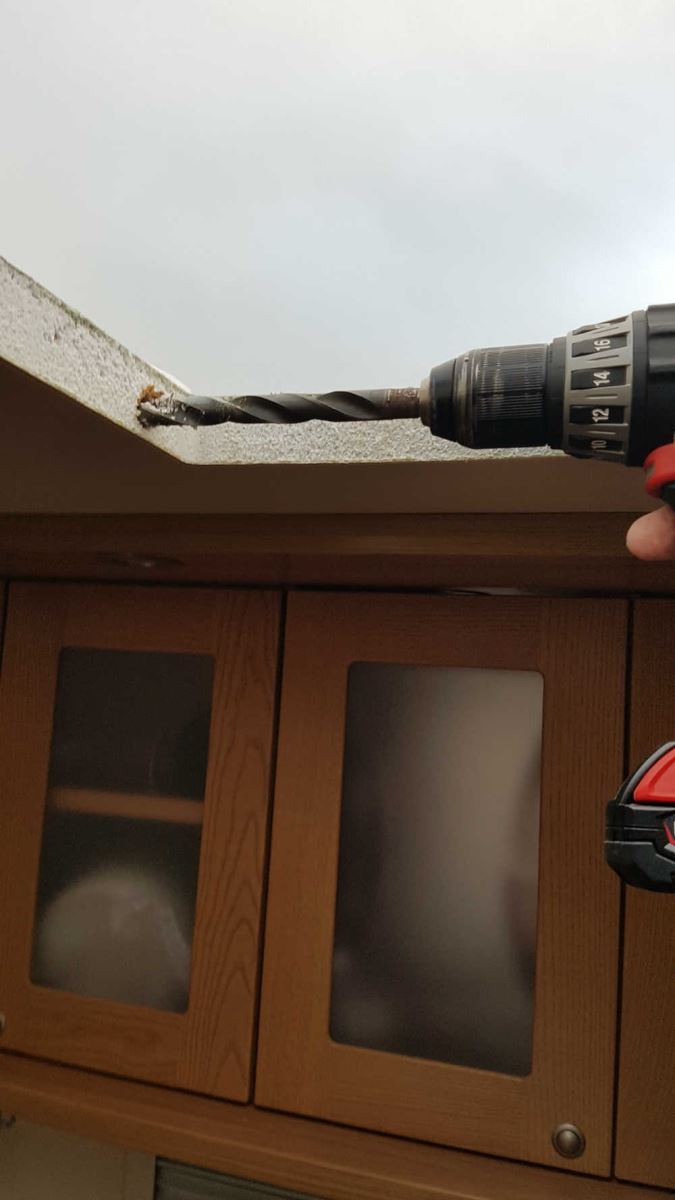
The centre ceiling light is fed from the left of the van, but the conduit runs the full width and within 280mm of the vent opening. First I drill through the composite plastic frame around the opening, then, using a wood bit and extension bit, turning by hand, I work through the polystyrene of the bonded roof until I hit the hard plastic of the conduit.
I attach the cordless drill and gently drill into the conduit. I keep to the lower part of the roof; I would sooner mistakenly go through the ceiling than the aluminium roof. Those of a nervous disposition might prefer to use D section conduit adhered to the ceiling.
I push the wire through the hole I've just made and using a stiff wire with a hook, from the ceiling light end, I hook the wire on the third attempt and pull through.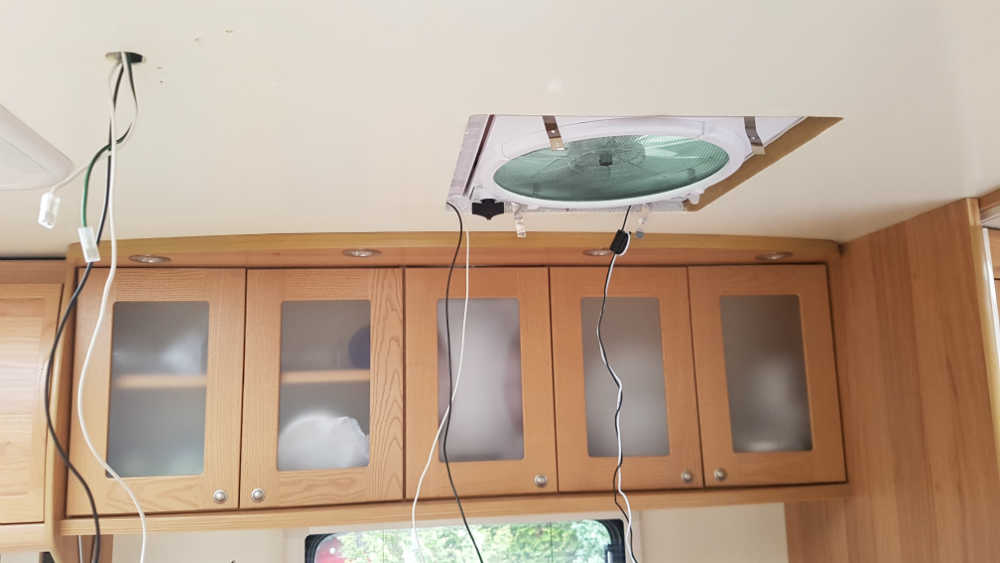
Now, to fix the outer flange, I apply the sealant, I do three beadings around the flange and a dollop on each screw hole.
Carefully place the flange into the opening, making sure that the U-clips are to the sides, then using batten and F clamps, I clamp down firmly. Any sealant that pushes out of the screw holes can be scraped off, but the sealant that oozes from under the flange is best left, as you can see it looks ok.
Darkness eventually beats me, so I cover up the work area and leave it overnight.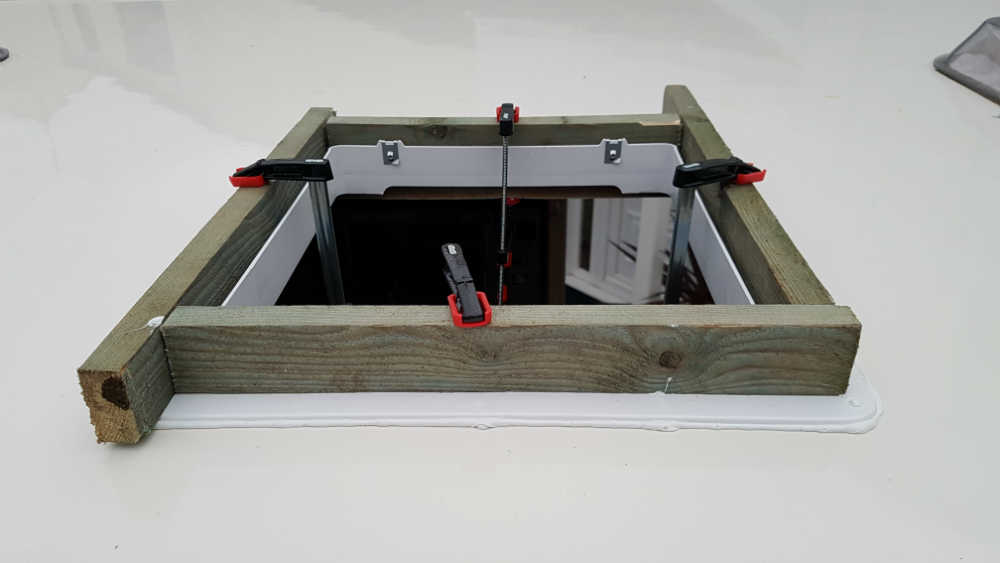
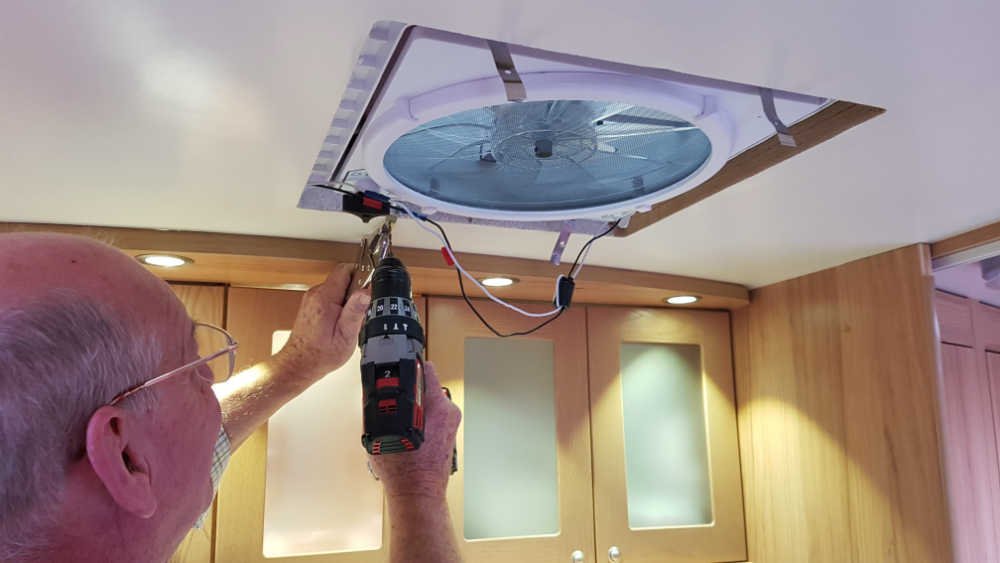
Next morning, I remove the F clamps and fit the fan unit. I have to install the fan in the open position, to access the U-clips. I screw the unit together, making sure I catch the stainless-steel straps with the screws.
Next, I connect the electrics and do a test. I use crimp connectors to join the fan wires and use the same colour and size as the fan, 2mm2, black and white. I put red flags on the black positive, just in case.
And connect the other end to the lighting circuit, using Snap Lock splice connectors. Everything is working fine, so I can reinstate the ceiling light.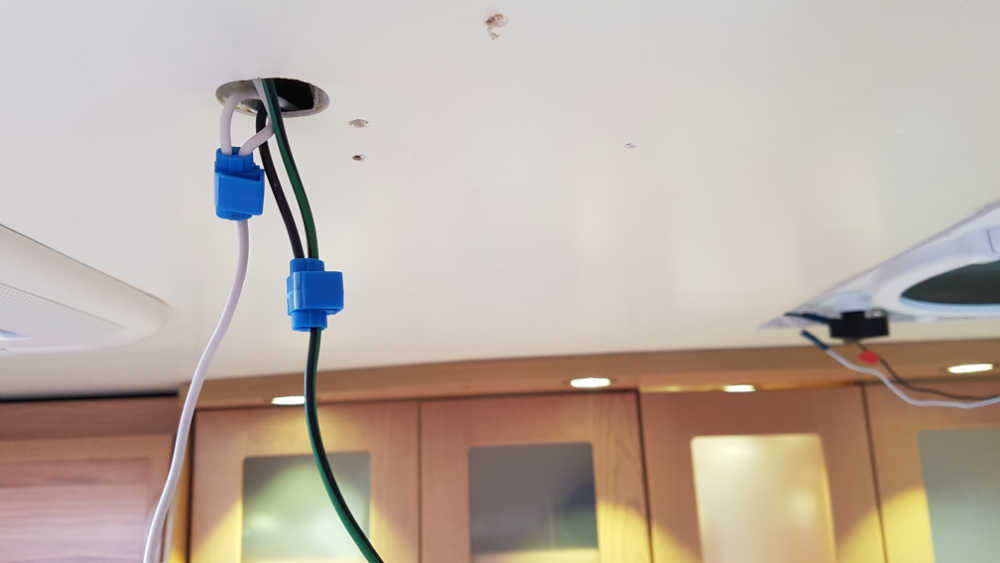
To tension, I clamp a pair of Mole grips to the end of the stainless-steel strap and pull down and around the lip of the opening.
Then, using the hole already drilled in the strap as a guide, I drill a small pilot hole through the ceiling, into the composite frame at an angle away from the opening. This way, when I tighten the screws, they will pull the stainless-steel straps taut.
Finally, I trim off the end of the straps, so they'll be hidden behind the inner trim.

The inner trim is designed to fit a variety of roof thicknesses. I push this up into position and measure down from the ceiling to the trim add 5mm (only want to cut once), then, using a hacksaw blade holder, I cut it to size.
Before I fit the trim, I use strips of foam to fill the 20mm void behind it for increased insulation.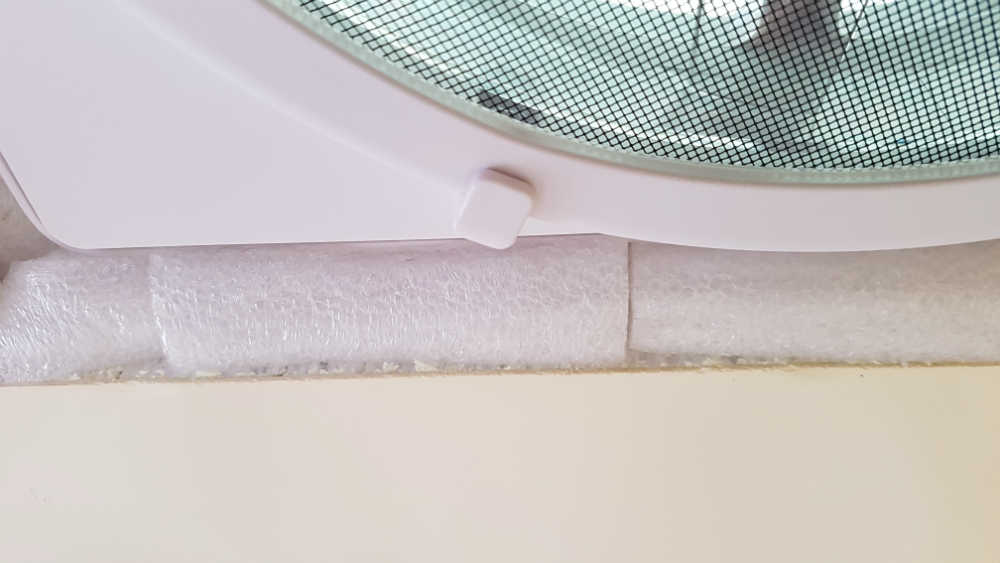
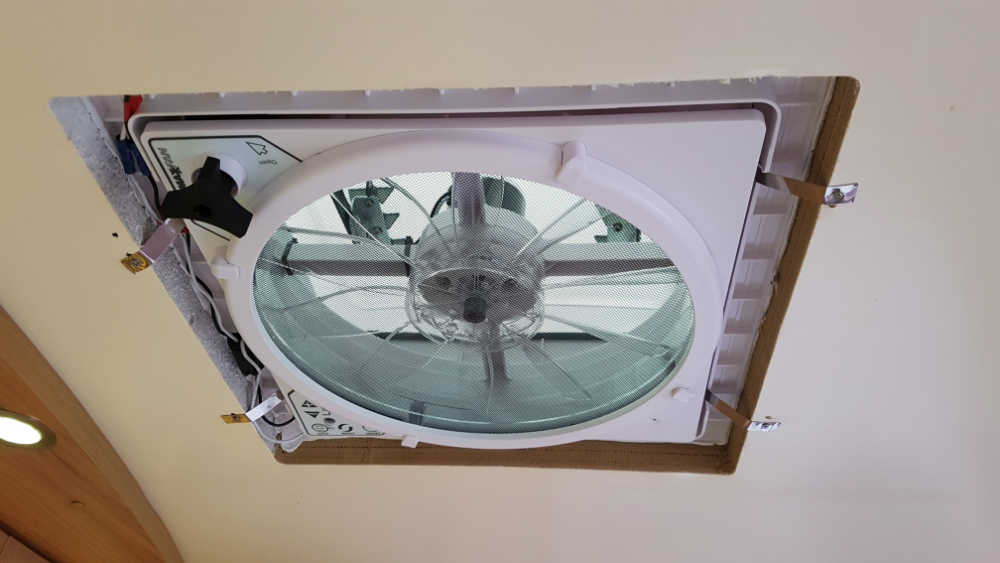
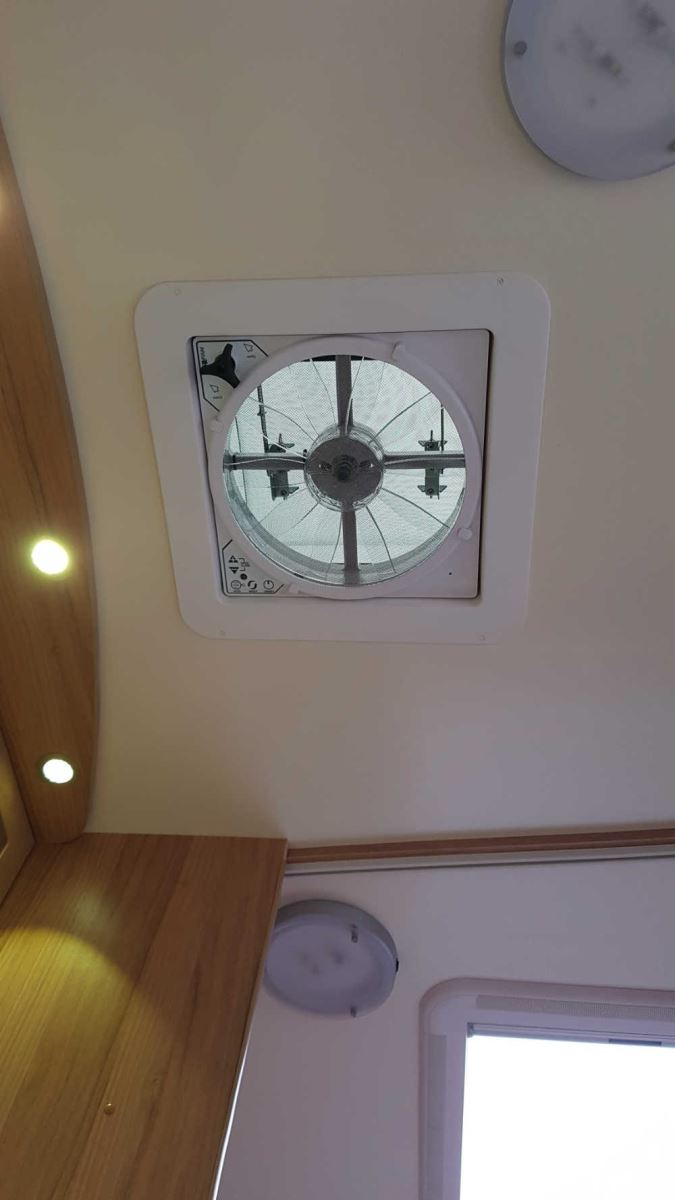
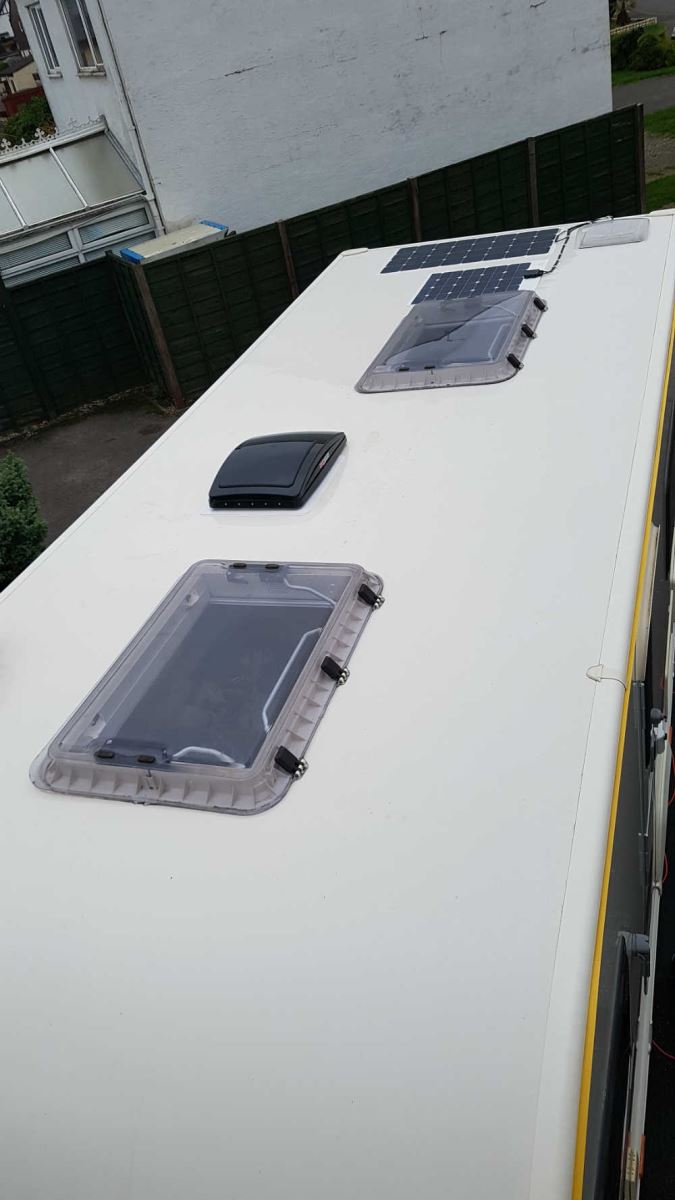
From the inside, all looks neat and tidy, while outside, the Maxxfan cuts a low profile.
 |  |
The remote? No, it's not a man thing, I locate it on the wall near the kitchen, it just so happens it is also within arm's reach of where I usually sit. Ha!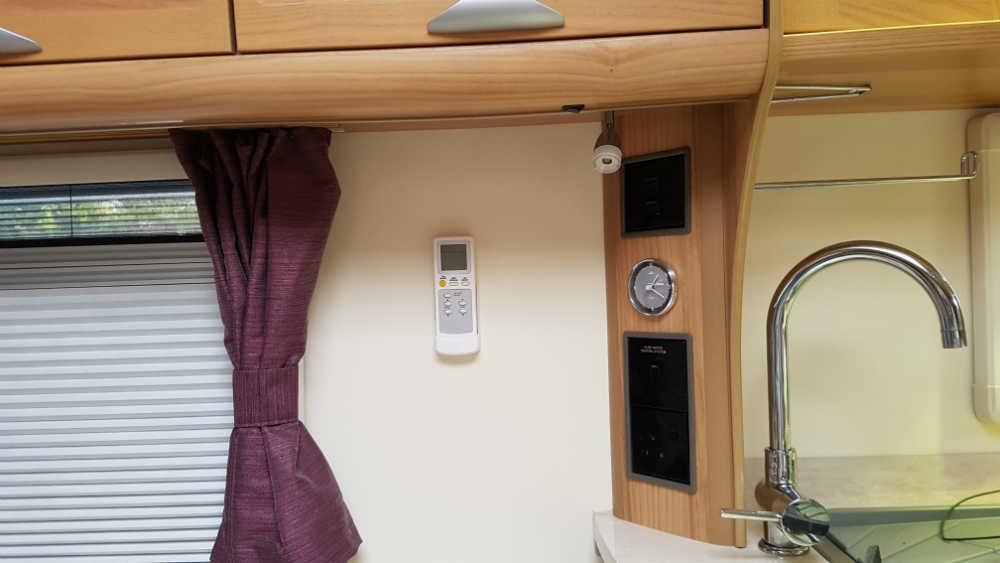
Conclusion
I must say, I am very pleased not just with the result, but with the performance and build quality of the Maxxfan. It's efficient in its use of energy, ultra-quiet on the lower settings and, on full speed extract, never mind the kipper smells, the fan could suck up whole kippers too!
It's FANomenal. (Ouch! – Ed)
The only downside? Well, I couldn't recommend anyone putting 16 screws into the roof of their caravan. So why not follow my lead?


