DIY: Fitting your caravan with LED lights

DIY: caravanning projects to try yourself
Mark Williams is off to a music festival for a week in the summer, without hook-up, so he's working to reduce the Elddis’ power requirements, starting with an upgrade to LED lighting.
The prospect of six days running on my leisure battery, it was time to take a look at the lighting.
Elvis the Elddis – our 1992 Mistral XL – was equipped with the low-powered lighting of the day; fluorescent tubes. There are five; two large ones in the ceiling and three under cupboards in the places you'd expect, over the sink and the seats at the back.
The ceiling lights run at 8 Watts, which is respectably low power consumption. But the LED strip lights, currently being supplied by Ring for the caravan market, are half as punishing for the battery, at around 3.5 Watts. The question is, what will it take to fit them?
Fit 12-Volt LED lights yourself
If they were mains lights, we would not, of course, tackle them ourselves. But as 12-Volt units, anyone can tackle with a knack for DIY, the only (very slight) risk being fire. The current draw by the LED lights is so small, and they will reduce the fire hazard as long as you wire them competently.
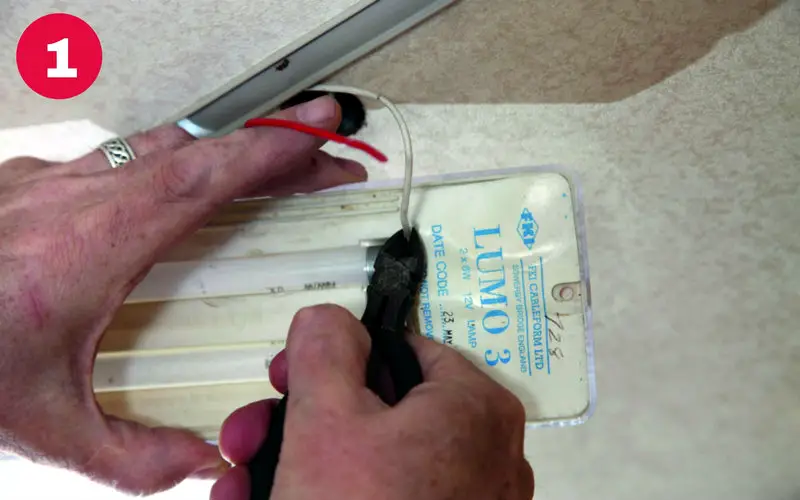
The first job was to see what's under the original ceiling units. As the picture shows, [1] they sit in the wallboard trim and they are longer than the new Ring units. First, switch off the lighting circuit at the control panel.
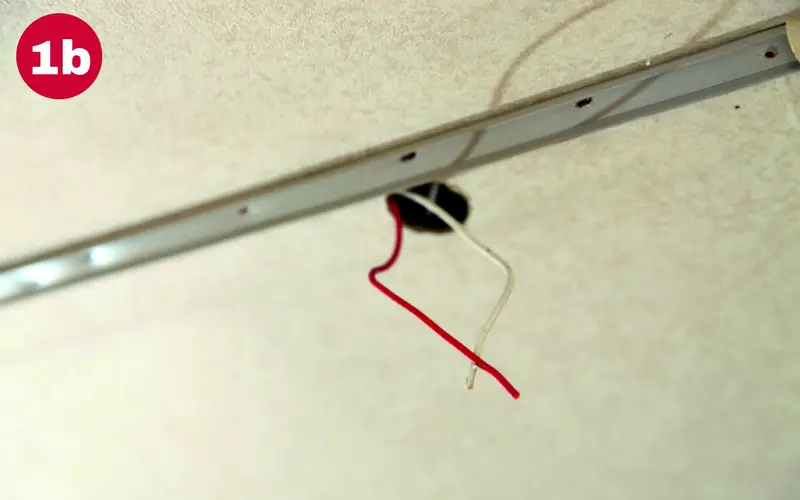
Removed, the old units reveal a big hole for the wiring [1b].
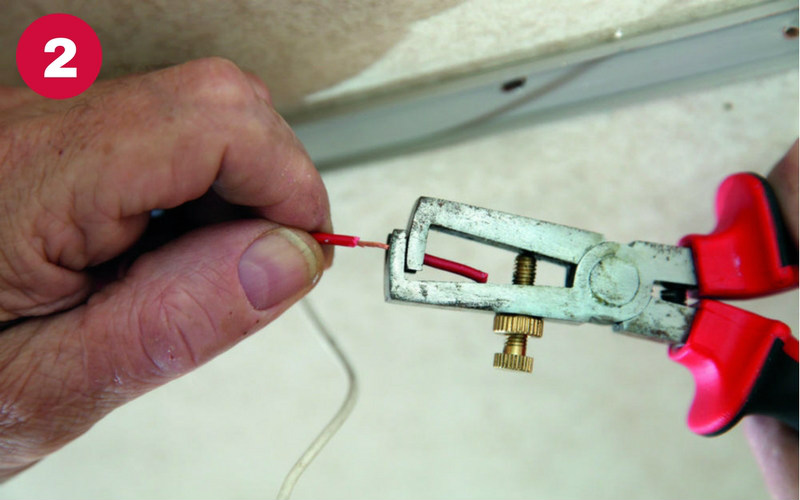
The hole is too far from the trim for the smaller LED unit to cover, so I have decided to offset the LED unit to cover the hole completely. I will cover the exposed trim base later with new 22mm trim cover (about £12 for 2.5 metres). I have cut off the old unit leaving as much wire as possible then stripped the ends of the cables. [2]
The Ring LED strip light comes with its wiring emerging from the end, [3] but I can re-route the wire, so it emerges from underneath, out of sight.
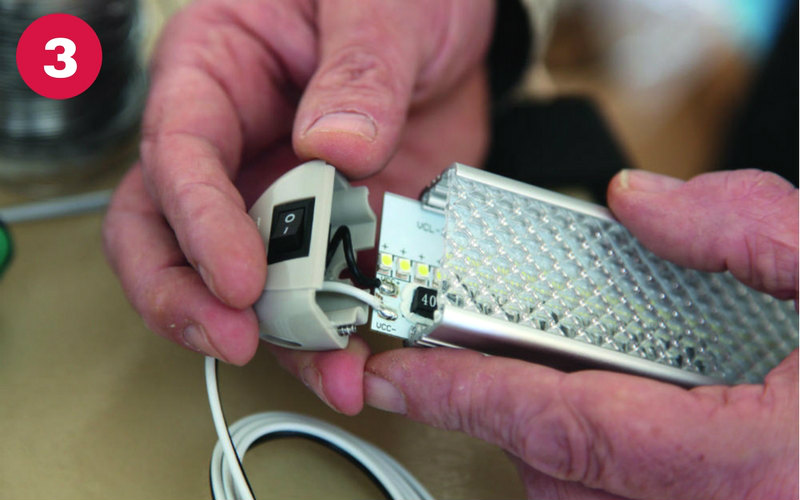
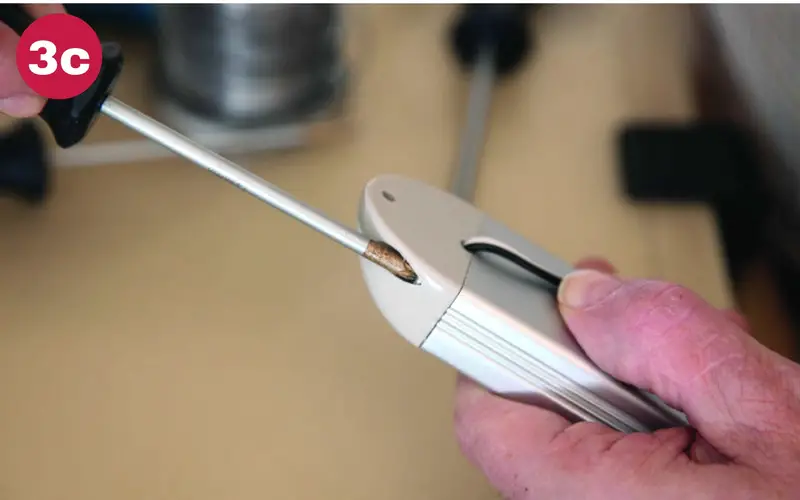
Just remove the two screws holding the end cap carefully, gently pull the wire through the original hole [3b] and post it out of the back, replacing the end cap. [3c]
I used a multimeter to check the polarity of the red and white wires in the ceiling – old caravans are sometimes re-wired poorly, so you MUST do this. To use a multimeter, select the DC range just above 12V (20V on my meter), then ensure the bare wires are kept apart by taping them to the ceiling (avoiding all metal!).
Switch the lighting circuit back on, then hold the red meter probe against the red wire, and black probe against the white wire. The meter should show a positive value. If a negative value indicates, the red wire is (wrongly) the negative.
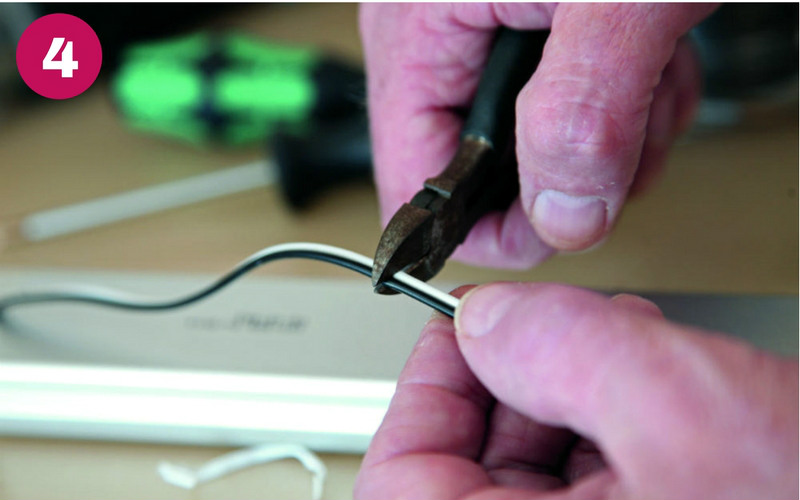
As expected, red is positive, so joins to the black, positive wire from the new unit. Switch off the lighting circuit again. Then I cut the new unit's wire to a reasonable length [4] and stripped the plastic from all four wires.
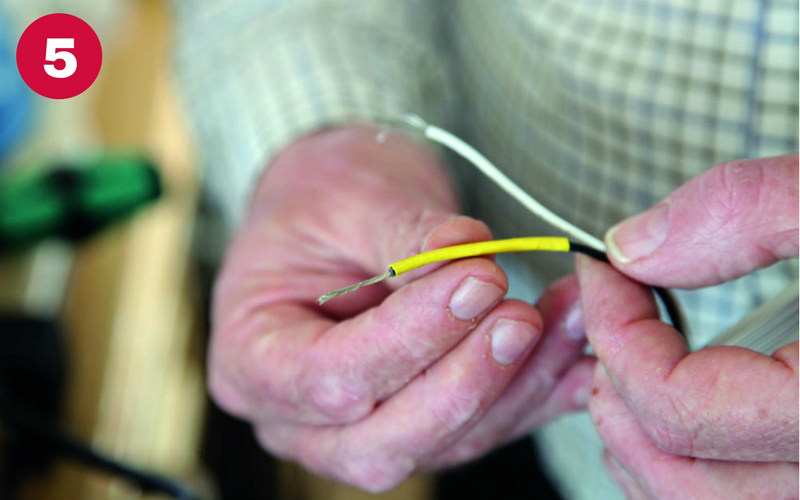
Join them with solder. First, I slid a section of shrink tube up the cable. [5]
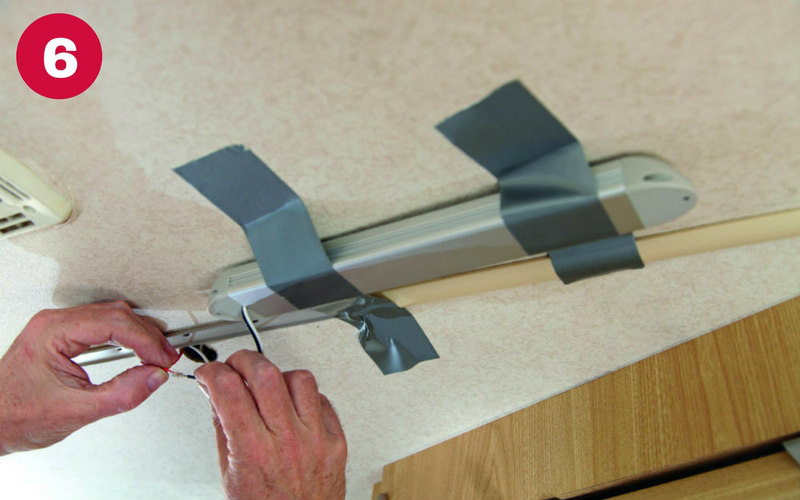
Next, I gaffer tape the new unit to the ceiling [6] so I can connect the two sets of cables single-handedly.
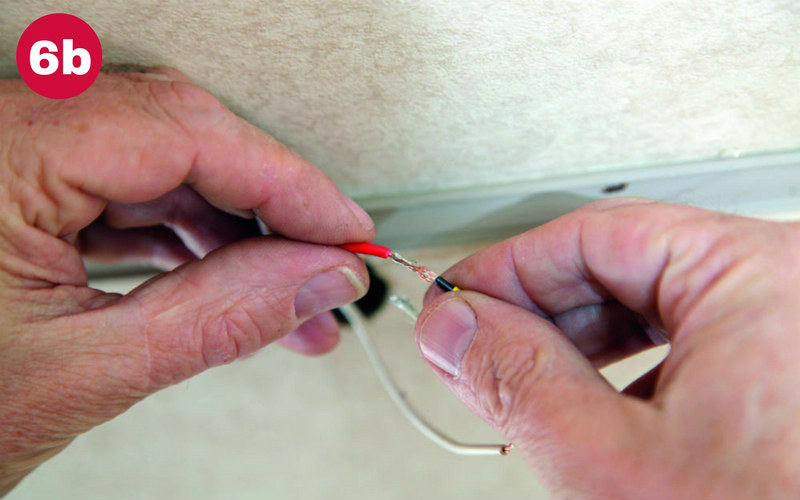
Fray the ends of the red and new black wire, splice them together...[6b]
...twist them together, then holding the hot soldering iron underneath the join, add solder. [6c]
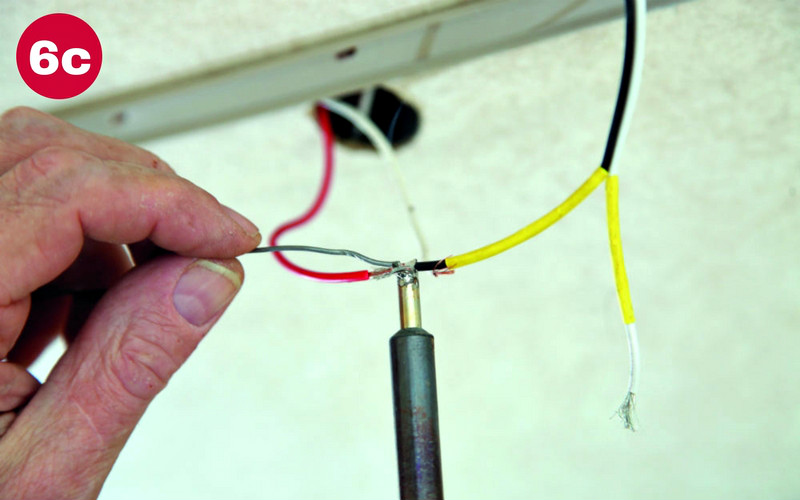
Repeat this with the white, negative cables.
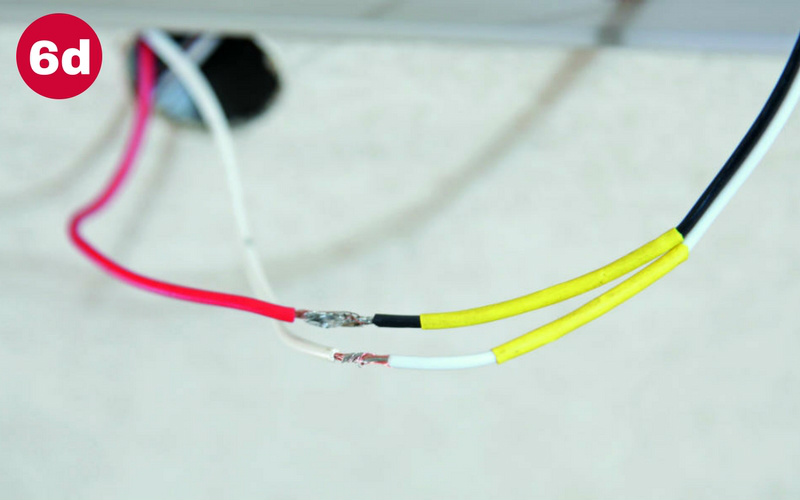
Next, slide the shrink tube over the joint... [6d]
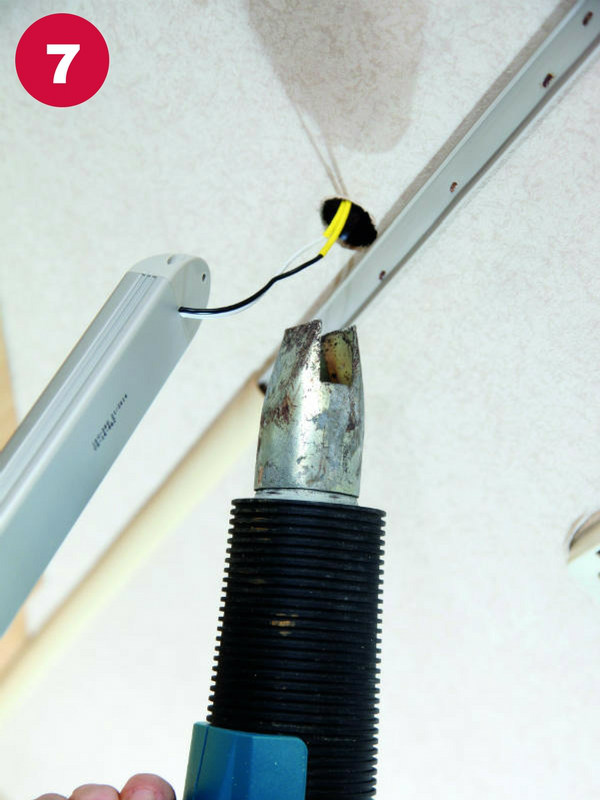
...and sparingly use a heat gun to shrink it, placing a layer of foil behind the wire if you are worried you may scorch the ceiling.[7]
For tidiness, I also wrapped the two joins with a little insulating tape.
Now find two appropriate screws to fit the new unit. Caravan wallboard is thin and quite fragile so that you will need screws with a coarse, parallel thread for their entire length. They need be no longer than 12mm.
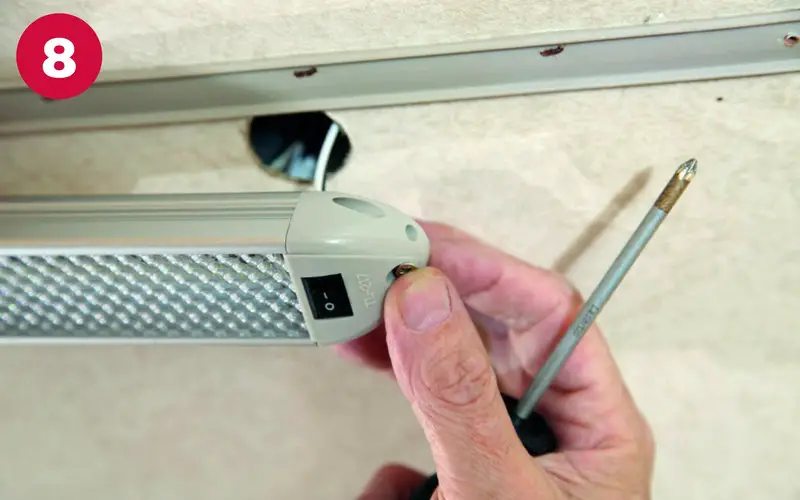
Untape the LED strip light and sited it over the hole... [8]
...pushing the extra cable into the void as you go, then VERY GENTLY screw the unit in place.[8b]
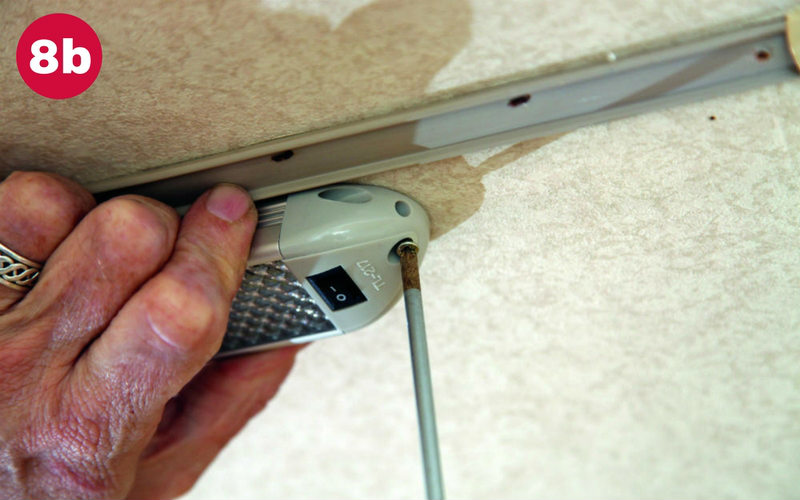
Do not, under any circumstances, over-tighten the screws – just nip them up until they begin to give a little resistance. If you are worried the unit is not secure enough, or over-tighten the screws, add beads of silicone bathroom adhesive to the back of the unit before fitting, and tape the unit in place until it has set, 24 hours later.
The units under the cupboards will be a little easier because the manufacturer installed them into relatively solid cabinets. The method, though, is identical.
For good measure, I also bought two LED replacement bulbs for the reading lights – standard 12V bayonet-fit car bulbs – for around £4 for two direct from China (how is this possible?) and popped them in. To be truthful, I bought four, hoping to replace my car stop lamps with them, but the light output is equivalent to 5W, not the 21W, so two went in the tail lights, and two in the caravan.
While on this subject, if you are looking to replace your car bulbs with LED replacements, and your car has a 'Bulb Gone' warning system, you need to buy bulbs which 'talk' to the CANBUS module – the advert will tell you if they do.
The reason for this is that the CANBUS detects the level of electrical resistance across the bulb (obviously, total resistance when the filament breaks) but basic LED bulbs will trigger the 'Bulb Gone' warning even when they are working correctly.
Fact File
LED strip lights
RCT5502 and RCT5503 (Page 332 of their online catalogue)
From: Ring Automotive
W ringautomotive.co.uk (download the catalogue – all kinds of amazing things!)


