Motorhome advice: How to replace rear bulbs in a Ford Camper

Words and photos by Tony Brown
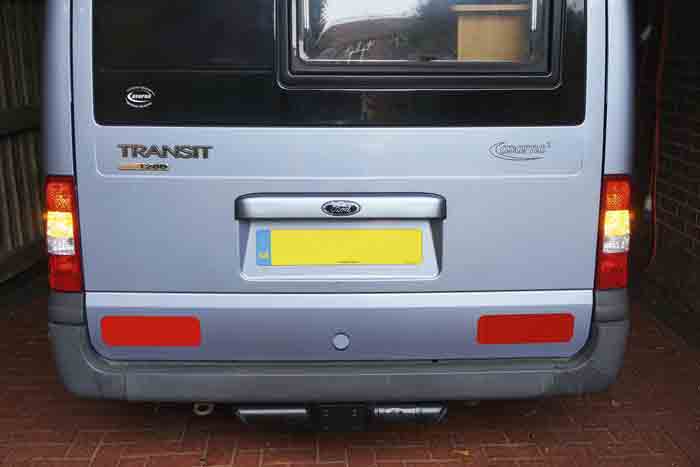
The days of simply accessing the rear light lenses by removing a couple of bolts from the outside are long since gone, which creates a small problem for van converters. If your campervan is short like mine, every inch counts and the kitchen unit or toilet compartment tend to be close to the rear panel of the van, leaving limited access space to remove the internal retaining nuts.
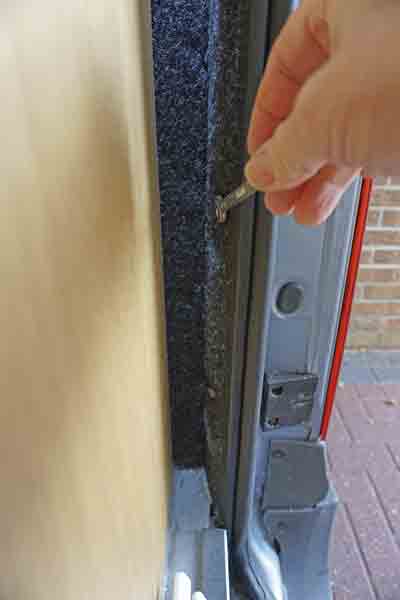
If your furniture units are in contact with the rear panel, you might expect the converter to have provided either an access hole or a removable hatch for the purpose. Either way, you may have to remove the lens-retaining nuts or wing nuts without being able to see what you are doing.
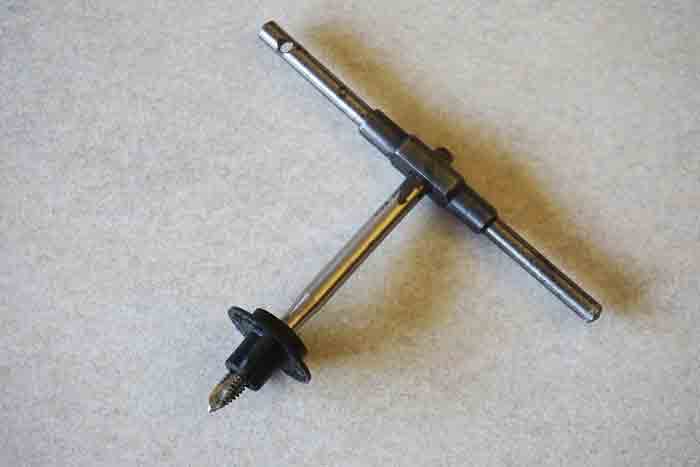
The black plastic wing nuts on my Transit were very tight to remove, requiring one finger on each wing to remove them. The reason then became clear: they had been cheaply produced with no thread inside. The problem was quickly solved by running an M6 tap through them, allowing them to be replaced and removed with ease. An M6 bolt with sharply filed flutes like a tap would do the same job.
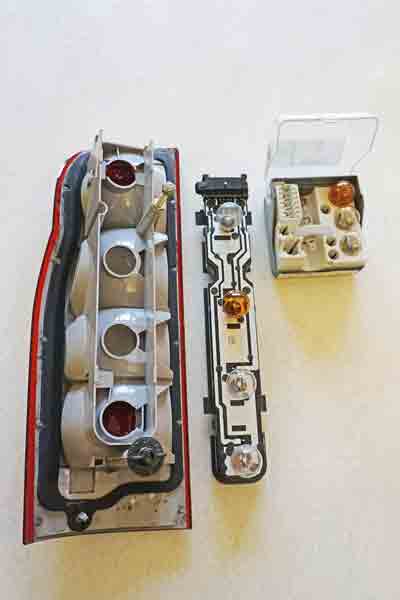
Once the retaining nuts are removed, the light unit can be withdrawn from outside. Getting access to the bulbs themselves is still quite a struggle, so I suggest you carefully unplug the single electrical connector after holding out the clip arm on each side of the connector.
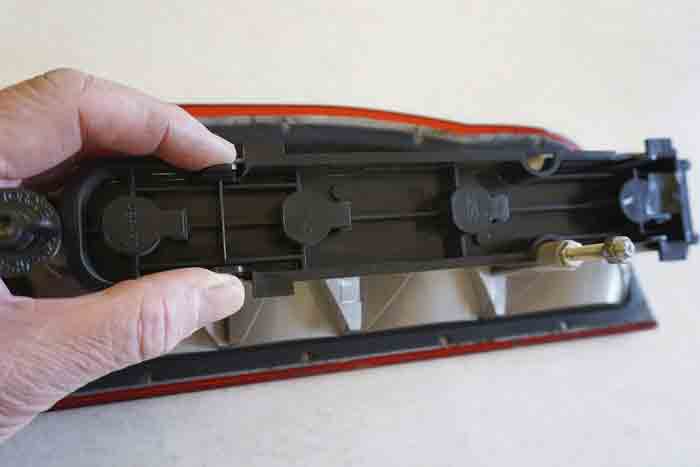
The light unit can then be taken indoors for access to the bulbs. The single, full-length black bulb-mounting piece can now be unclipped from the grey plastic body. This requires the two pairs of protruding tabs to be squeezed together whilst the black and grey parts are separated.
Four hands would be best for this job! Changing the bulbs is now the easy bit.
When reconnecting the electrical connector, note that it is designed to fit one way only and should clip down into place, at which time a lighting check would be sensible.
If all is well, replace the light unit so that the rear bolts appear inside the ’van and then replace the nuts or wing nuts as supplied.
Always check your instruction manual before undertaking work on the vehicle but, in this case, I found the directions very brief and not much help.
Certainly, replacing a bulb on a wet night would be an unattractive prospect but would be possible if you take the time to review the technique in advance when enjoying good conditions at home.
The tools you need to replace rear lights:
- Open-ended spanners
- M6 tap (or an M6 bolt with grooves cut in the thread parallel to the shank)
- Replacement bulb
Step by step guide to replacing rear lights
1. The Ford Transit rear light units must be loosened from inside the vehicle
2. The black plastic wing nuts were only accessible by a hand’s width
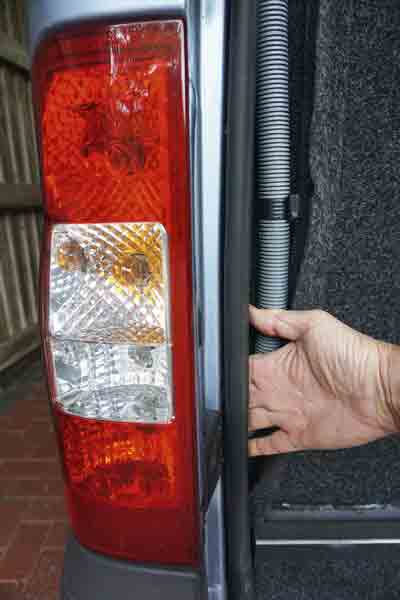
3. On the other side, a narrow gap allowed a spanner to be used on the M6 nuts
4. Grip the two pairs of retaining tabs together, before removing the black plastic bulb holder
5. Change the bulbs as required – checking carefully you have the correct type – and clip the two halves of the unit back together
6. Use an M6 tap or a filed M6 bolt to cut a thread into the black plastic wing nuts to ease their future removal