Motorhome advice: How to repair cassette blinds


Words and photos by Peter Rosenthal
MMM’s project Auto-Trail is not in its first flush of youth at 17 years old and was probably looking forward to a gentle retirement, rather than having some nameless person ham-fistedly breaking one of its cassette blinds.
The poor thing’s lounge blind was drooping at a wonky angle like the damaged wing on a bird.
It’s a common problem with older cassette blinds as the plastic ages and becomes more brittle and the parts simply wear out.
In this case, though, the supporting string hadn’t snapped. Even though the end supports had become detached and the string was dangling down, all the parts were present so it could probably be fixed.
The first step was to see exactly how the blind should work and the easiest way to do this was to take a closer look at the opposite blind in the lounge, which was working perfectly.
It soon became obvious that the plastic end caps support the guide strings and that the string needed to be put back in the correct place.
No matter what brand or type of blind you have, compare the broken one with a similar working model opposite to see if you can suss out the cause of the fault.
This type of blind uses string that is fixed tautly in place. Although it looks like the string moved up and down, it doesn’t – the string stays in place while the plastic guides on the blind move up and down it. If the string has snapped it will need to be replaced.
This one proved to be a fiddly job to sort out, but it only needed a selection of screwdrivers to fix it and plenty of patience.
After under an hour’s work, the string on the blind had been refitted and it was time to test it.
The tools you need:
A selection of screwdrivers
Crosshead screws
A gentle approach
Step by step guide to repairing a cassette blind
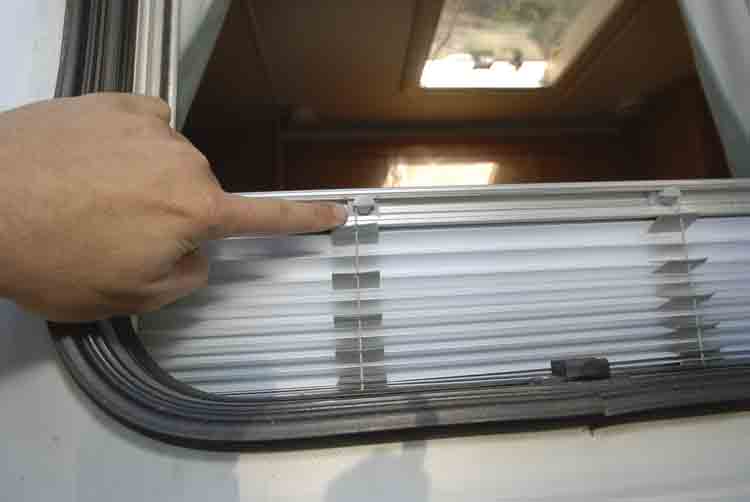
1. Find a working blind and open the window to see how the string mechanism works. This is your template to copy on the broken blind.
2. On the broken blind, these end caps had come off and the string mechanism was much too slack.
3. To gain access to the blind's fixing screws, these corner caps needed to be gently prised off - the plastic is old and brittle so it needs to be handled delicately.
4. Then, simply unscrew the crosshead screws holding the blind corner section to the vertical channel.
5. Angle the aluminium extrusion and refit the plastic end cap and guide the string through it. It will only fit back in one way (refer to your working blind).
6. Hook one of the strings over one of the two central plastic lugs on the reverse of the blind rail. Repeat this process with the string on the other side.
7. These fabric tape guides stop the string sawing through the blind material and, ideally, they should be glued back into place.
8. Check the end cap is still in place. This one is a little worn but still has some life left in it. It should glide easily up and down in the channel.
9. The plastic corner trim then needs to be clipped back into place and should sit flush with the window frame.
10. Screw the corner section back to the vertical channel and make sure that nothing moves and the plastic blind frame is flush with the window aperture.
11. At this stage, check that the blind is square in the frame and runs up and down easily.
12. Extra screws were added to the corner moulding (it had some empty spare holes) to try and add more support to it.
13. Clip the corner moulding carefully back in place. If any of the lugs have snapped you may need to use some double-sided foam tape.
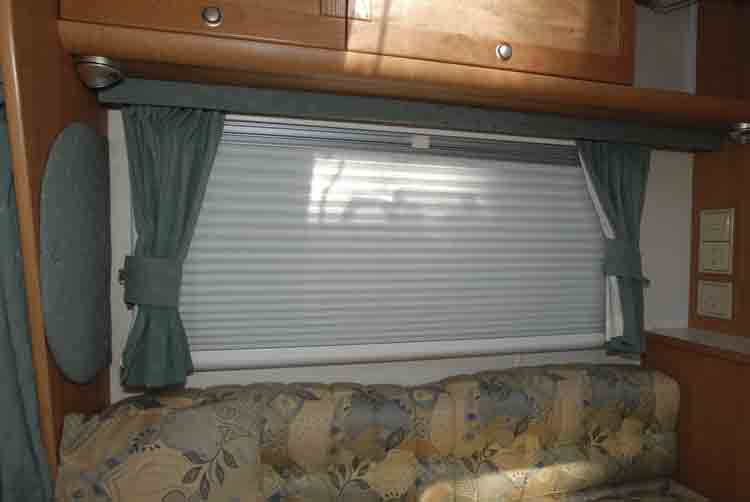
14. The working blind has fixed our motorhome's broken wing and given it a few more years of life.
Here's the finished, fixed blinds:
If you found this article useful, you'll find more practical advice and motorhome technical help every month in MMM magazine. Buy digital back issues here to catch up on previously published practical advice articles.


