Motorhome advice: How to fit extra security locks to your motorhome

Words and photos by Ian Pedley
Ever more sophisticated vehicle security systems installed by the manufacturers can be defeated by the ever-more sophisticated methods used by thieves.
As a result, owners are returning to the methods being used decades ago or more in an effort to make it harder for their pride and joy to be stolen. Aftermarket steering locks, pedal locks and external locks are becoming a common sight again.
My friend had recently been reading about the upsurge in van crime and asked me to help him fit some additional locks. We decided to concentrate on the cab doors, the habitation door and the main garage door on his beloved Fendt coachbuilt, which is based on a Mk7 Ford Transit.
I pointed out that the habitation windows are also a weak point and he elected to tackle these at a later date when funds allow.
British engineering company, Milenco, based in Milton Keynes, has been trading and designing such kits for over 25 years and produces a wide range of interesting and suitable motorhome security solutions that would perfectly fit the bill. We opted to fit extra locks to the cab doors, habitation door and the external lockers. Milenco provided first class advice and service.
On the Ford Transit Mk7, the central locking system (which usually has the deadlock system deactivated for motorhome conversion) can lock the doors from the inside or outside, but the addition of the Milenco internal deadbolts means that these can be locked from the inside in the up or down position.
When in the ‘down’ position the driver and passenger doors cannot be opened from the outside and, if locked, cannot be opened by smashing the window.
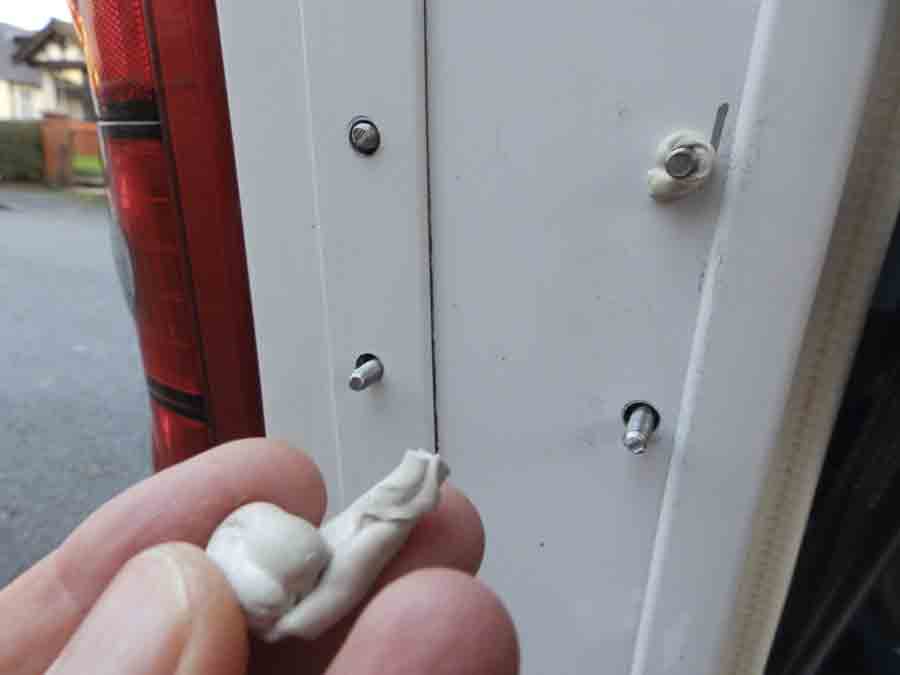
These cab locks use pivot bolts that are designed to shear off when fully tightened. This makes them tamper-proof and allows covers to be fitted.
On some modern motorhomes, the habitation door lock will activate along with the central locking action. However, it is not possible to easily tell if it is locked by looking at it and, if you try to open it from the inside, it will unlock, so, for peace of mind, we decided to fit the Milenco habitation door lock. This unit has the advantage of being able to lock and unlock the external lock from the inside, giving 100% assurance to the user that the door is indeed locked.
The final lock has a sliding rather than swivel action and is easily fitted to a standard locker door. It’s worth noting that Milenco can supply all these locks with a common key.
As a general note, check both sides of the proposed lock position to make sure that you have chosen a suitable place with enough clearance on both sides. Equally, drill a small pilot hole first as this can easily be filled if a mistake is made.
Get more useful technical advice every month, in every issue of MMM. If you have a question for our team of technical experts, get in touch and see if they can help!
TOOLS YOU NEED:
Drill - a cordless version is preferable
Drill bits - 5, 7 and 10mm diameter
Screwdrivers: crosshead, large and small
Adjustable spanner
Roll of Seamseal sealant
Centre punch
Hammer
Insulation tape
Milenco cab door locks £78 (a pair)
Milenco habitation security door lock £54
Milenco locker lock £34
Eye protection for drilling operations
Marker pen
Hand protection
Sticky tape for protecting panels when drilling
CAB DOOR LOCKS
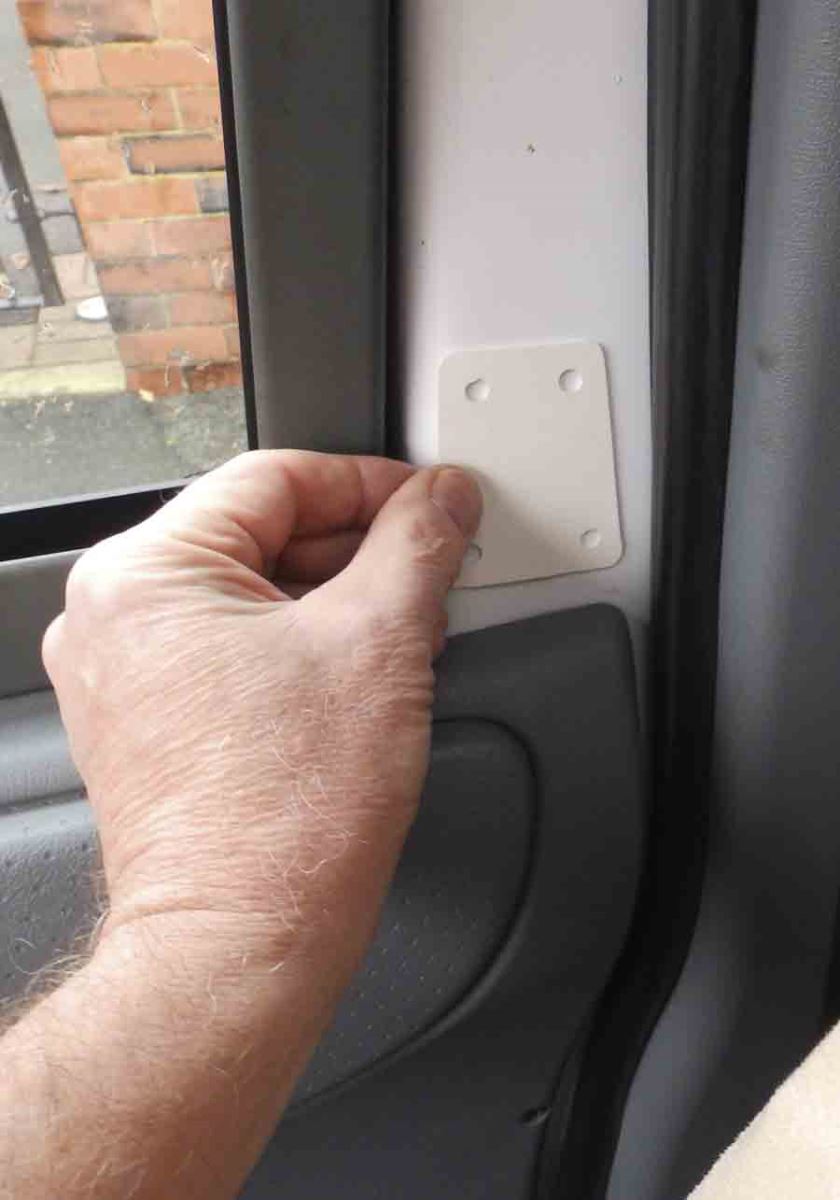
1. The first job is to work out the position of the lock (pictured is the lock in its closed position)

2. Once you’re happy with a position, use the fitting template to mark out the hole positions.
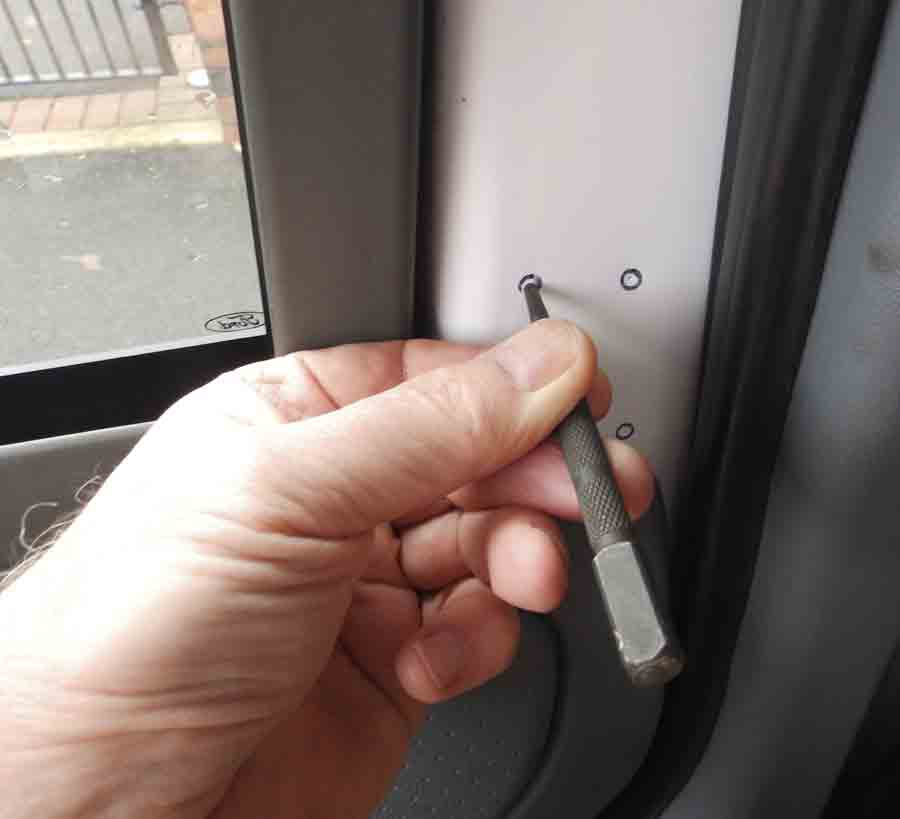
3. Centre punch the hole positions to stop the drill bit slipping on the metal panel.
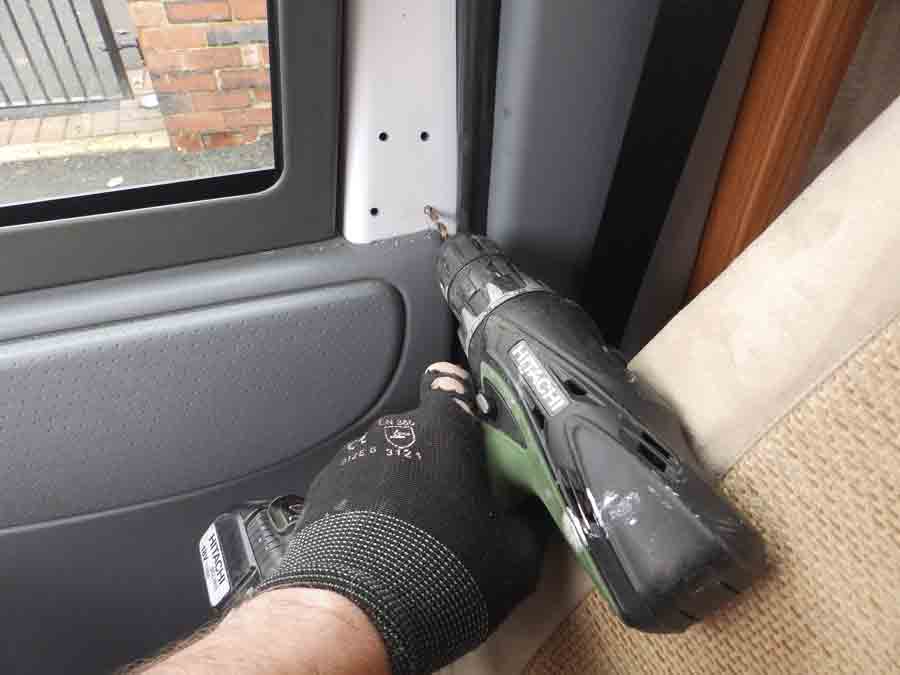
4. Pilot drill the holes and then enlarge the holes to 5mm. Tape around the area prevents possible drill slips from damaging the trim.
5. Attach the frame bracket with the self-tapping screws supplied. Then fit the blanking covers.

6. Tighten the centre bolt in place with a spanner to secure the swivel latch in position.
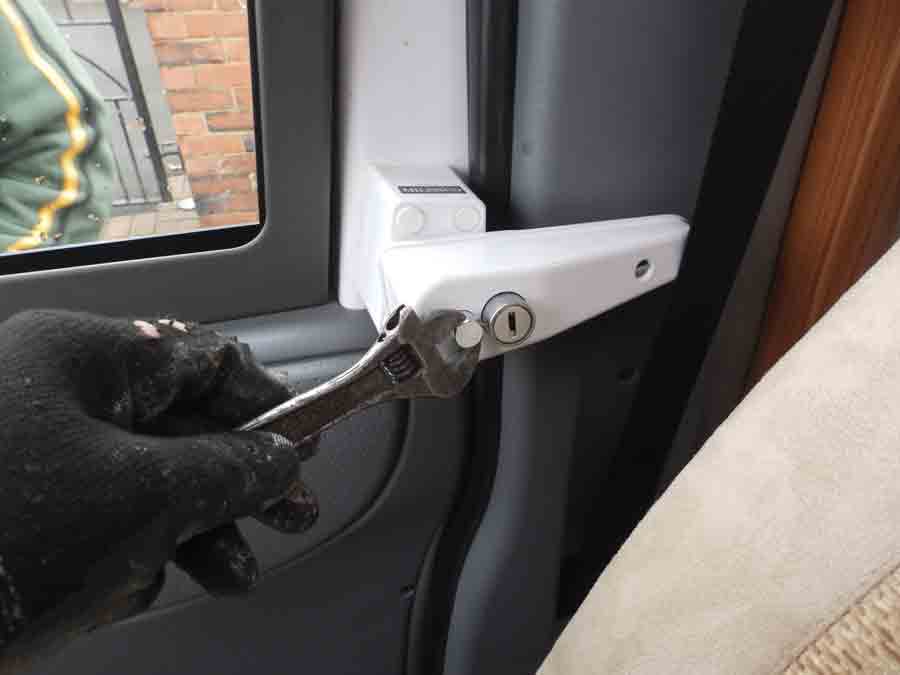
7. To finish off, attach the plastic cover plate. This simply clips into place.

HABITATION DOOR LOCK
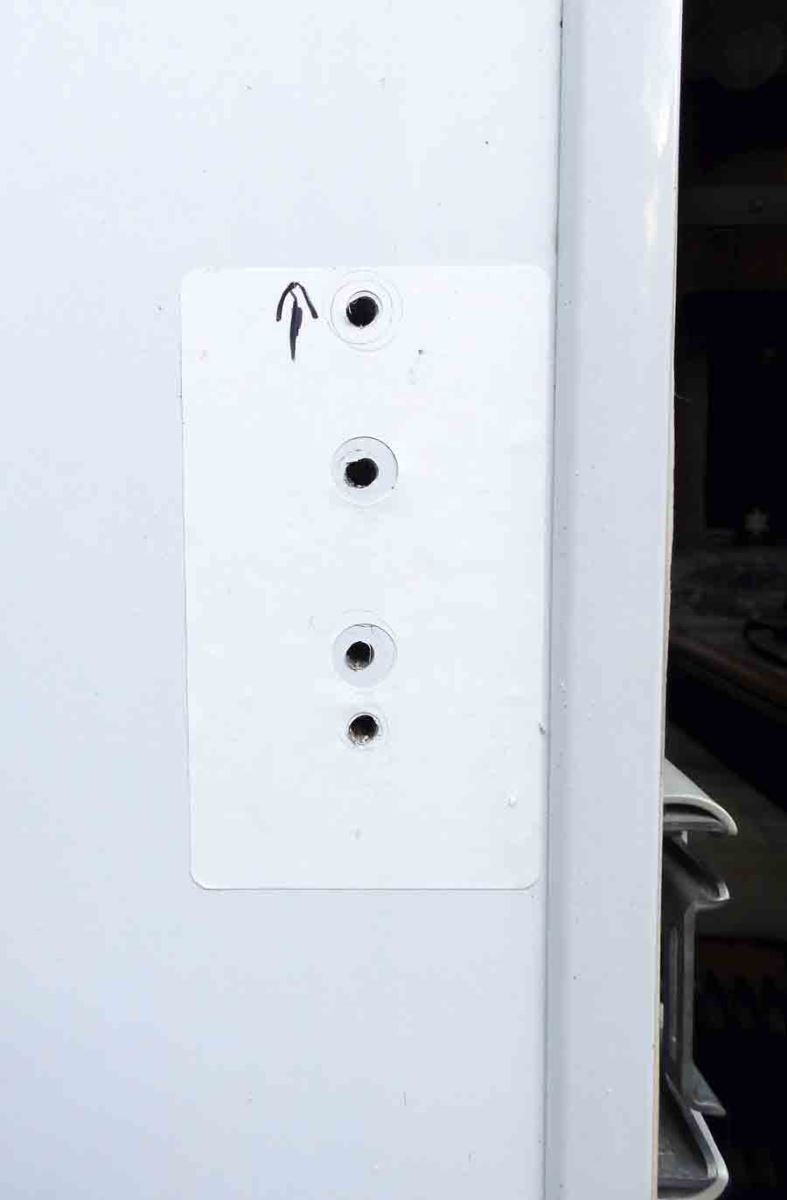
1. A stick-on fitting template is supplied – drill four pilot holes and then enlarge these to suit the hole sizes of the template
2. To fit the external part of the lock, attach the gasket to the rear face. For extra water ingress protection, a layer of non-setting seam sealer was added

3. Next, screw the inner door catch into position using the supplied screws. The latch position determines the exterior lock position
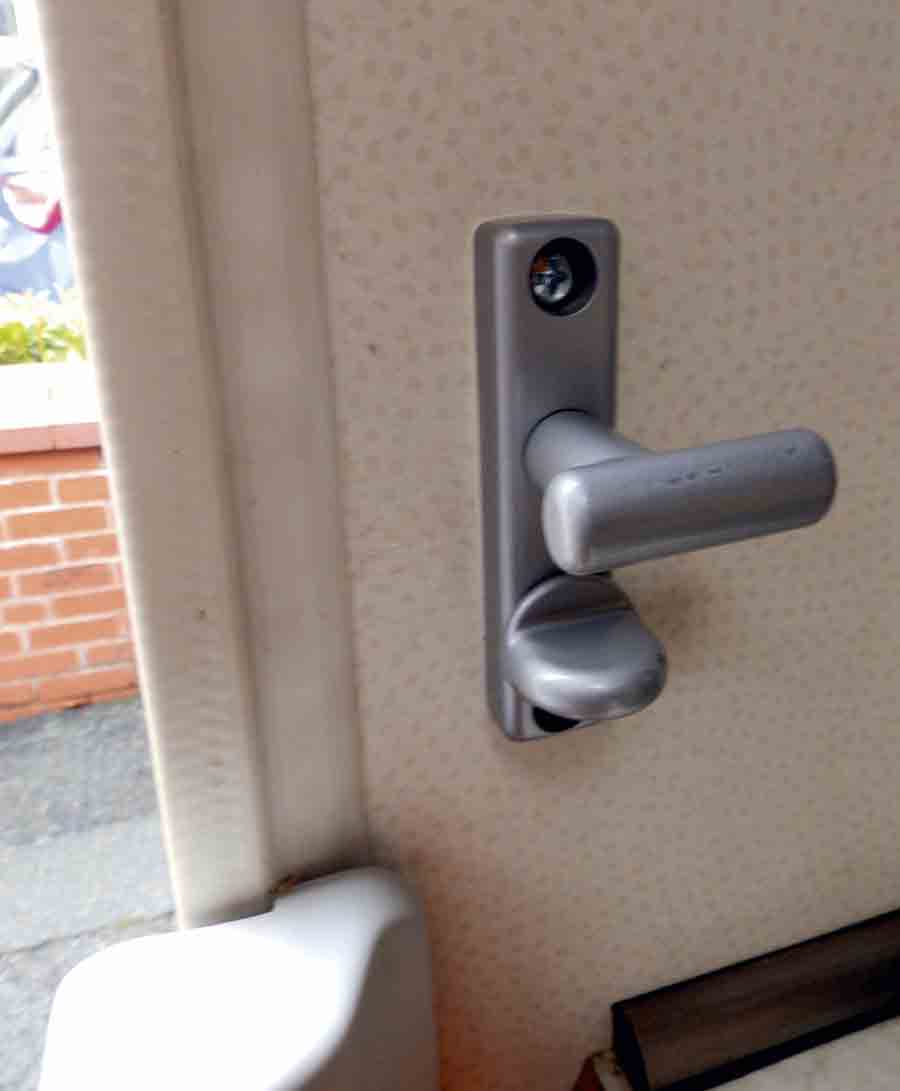
4. With the latch horizontal, the external lock prevents the habitation door from being forced open on the outside

LOCKER DOOR LOCK
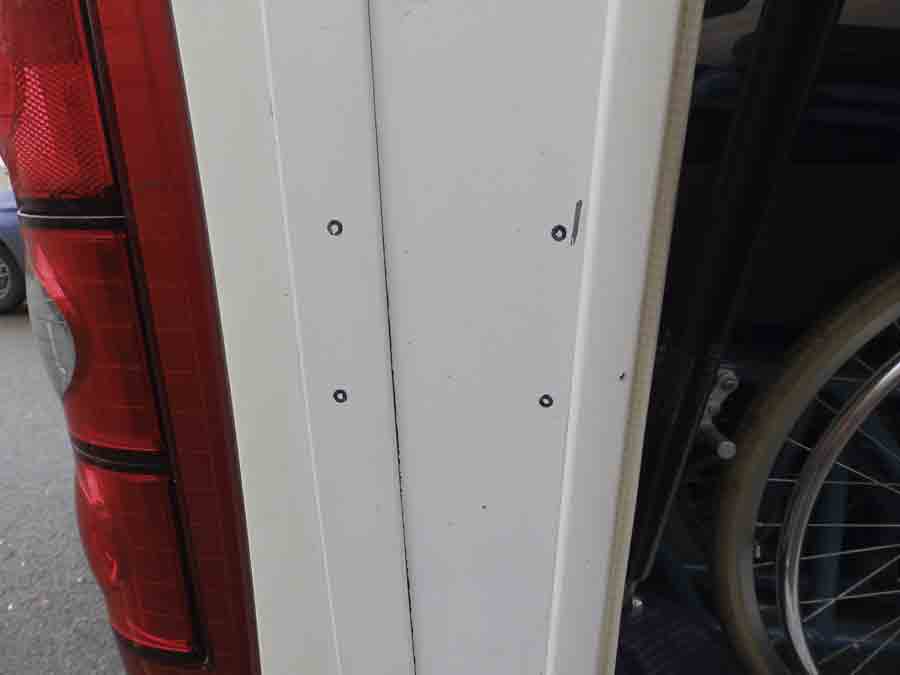
1. The supplied gasket was used as the template to mark the holes. Note that, in this case, the joint trim had to be drilled through
2. With the drill points identified from the template, the holes were clearly marked with pen
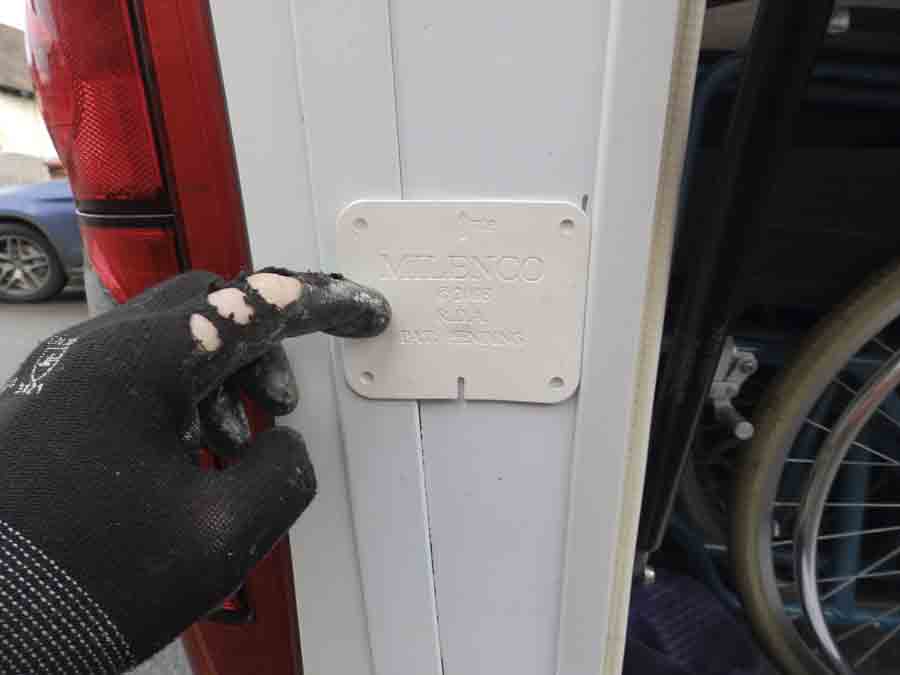
3. Holes were then drilled through the pen marks and the inner metal plate was attached. Seam sealer was applied around the screw holes
4. From the inside, the screws were attached to the main lock body. A space was used for the two front holes to level the lock

5. A clip-on plastic cover is supplied to hide the internal metal plate and screw heads. With the lock slid forward to its locked position, the garage door cannot be forced open


