Our Caravans: Fitting New Tyres


Paul Walton nervously raises his Bailey Pegasus on its jacks to have the tyres changed.
If there's one thing I hate, it's not getting my money's worth. It's why I wear shirts until they're threadbare, use both the crusts from a loaf of bread and will keep squeezing a tube of toothpaste beyond the point everyone else would have thrown it away.
And so it genuinely hurt when I changed the tyres on the caravan even though they had plenty of tread left. But the mobile engineer who serviced our caravan at the start of the summer was adamant they needed to be replaced.
The date stamp on each tyre read 0611 (June 2011) and with tyres having a recommended lifespan of just five years, they'd come to the end of theirs even though they looked to be in good condition with no signs of cracking. But due to a big trip to Barcelona planned in August, cracks or no cracks, I decided to comply.
| Outfit |
|---|
| Bailey Pegasus Ancona |
| Nissan Pathfinder 2.5 |
Jacking It Up
The first task was to remove the wheels. When I changed the tyres on my previous caravan, a 1993 Sprite 450C, I raised it on the four jacks. By being very light (just 790kg unloaded), the little van rose into the air as if by magic – at 1,300kg, my big Bailey is a very different proposition. Parked in its normal spot on the drive, I heaved and pushed and pulled the jack handle round and round for what felt like hours until finally, both wheels spun freely. Now for the scary part. Having already loosened the nuts, I removed them altogether and with my caravan hanging high in the air, dropped the wheels off with a clunk.
With my ‘van in such a vulnerable state, it was an anxious wait as my local tyre fitter shod the two rims with new rubber. He went for a heavy duty tyre by a make that’s unknown to me but cost a reasonable £49.50 (plus fitting) each. Wheels finally ready, I hurried home, hoping the Bailey was still in its lofty position and not crashed into the ground.
Thankfully, it was just as I left it so I quickly put the wheels back onto the hubs, finger tightening the bolts before raising the jacks, returning the ‘van to its wheels and safety. The whole operation took less than a morning and although I reckon the existing tyres would have been fine, has nonetheless given me peace of mind for our long haul to Barcelona.
Caravan Accessories 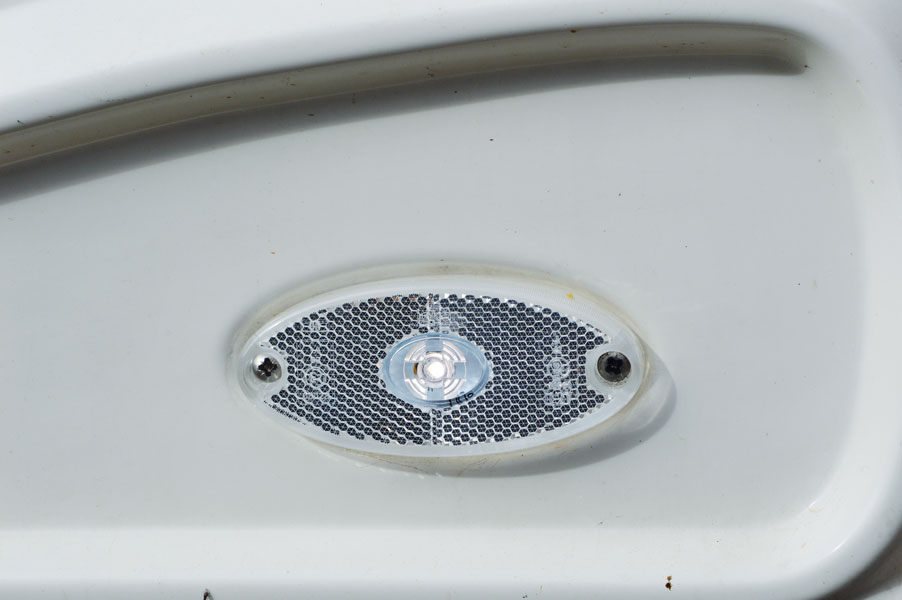
Other recent expenditure on the ‘van includes a new front LED marker point and exterior cowl cover for the water heater. I lost the latter last year when I forgot to put it back on to the vent following a weekend away and its absence has bothered me ever since. But not as much as the bottom left-hand marker point. Having never worked since we bought the ‘van in 2013, it always spoilt the aesthetics of the ‘van when we travelled at night. Plus, they do show where the bottom corner of the van is when negotiating tight turns in the dark.
I ordered both items from Bailey’s online parts service (www.bailey-parts.co.uk). Although not cheap – the plastic cowl cover was £18.33 and the LED light £9.16 while together with the VAT and postage the final bill came to £39.28 – both items arrived promptly the next day. As a like-for-like replacement, the cover snapped into place while the LED required me to fish around under the van to unplug two electrical connectors. 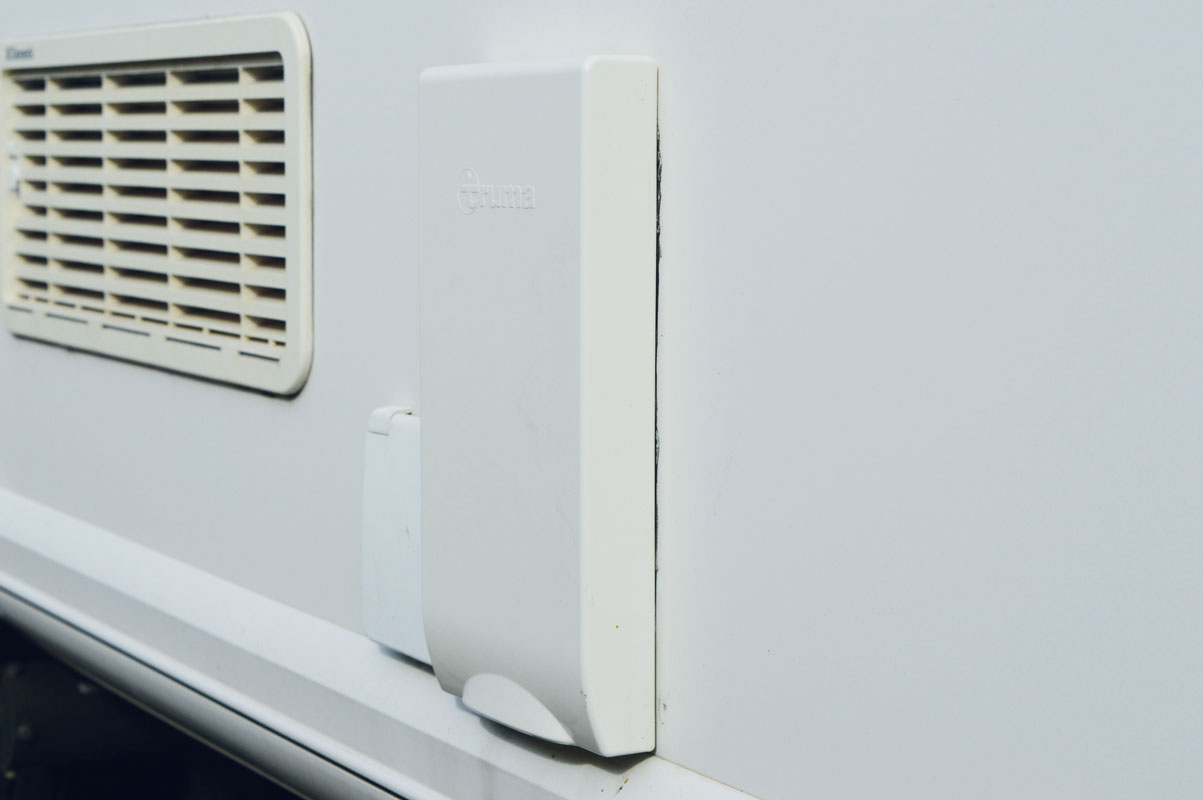
The result of all this expenditure is a ‘van that looks right and, more importantly, is safe for our long, 1,000-mile trip to Barcelona. Not a short journey, but like I said at the start, I like to get my money’s worth.


