


DIY: How to Fit a Motor Mover
DIY: caravanning projects to try yourself
How easy is it to home fit a caravan motor mover?
Pretty simple, as it happens, as long as you’re reasonably handy. Caravan takes up the challenge
Written by John Sootheran
Find out how to win a motor mover at the bottom of this article!
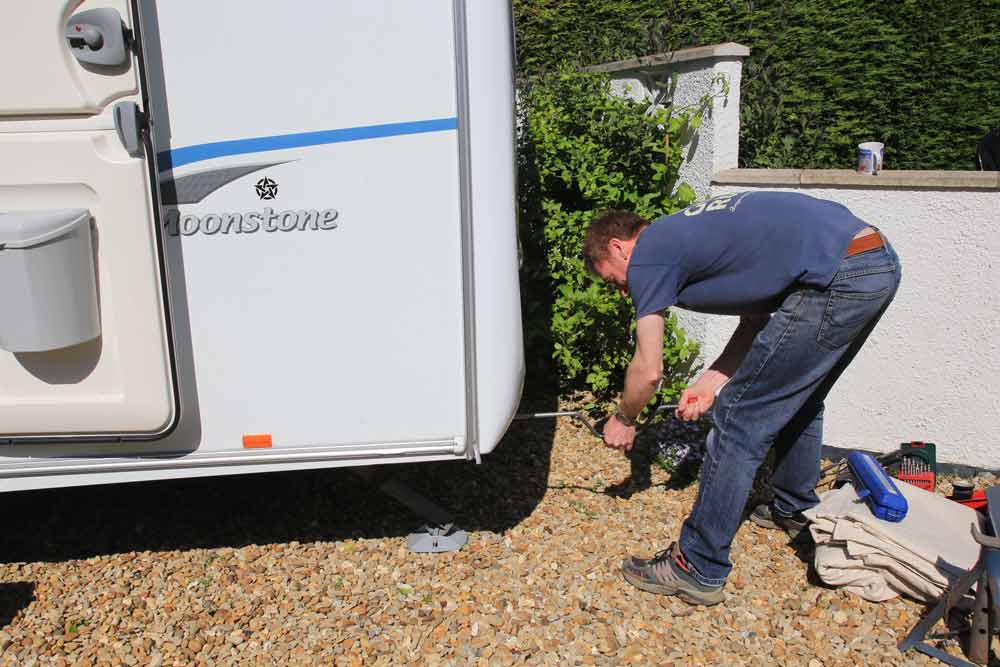
“I’m handy with a spanner, but I’m not trained in any way,” says Kim, our motor mover-fitting guinea pig. In fact, Kim is Caravan’s IT guru and a caravanning newbie.
Kim’s bagged himself a lovely Sterling Eccles Moonstone as a first van. It’s in beautiful condition, but Kim’s keen to add some extras to it, and, if he can save a few hundred quid by doing it himself, all the better.
“I’m your average DIYer, but I do enjoy it. I wouldn’t take on anything I thought was too complex.”
Be prepared
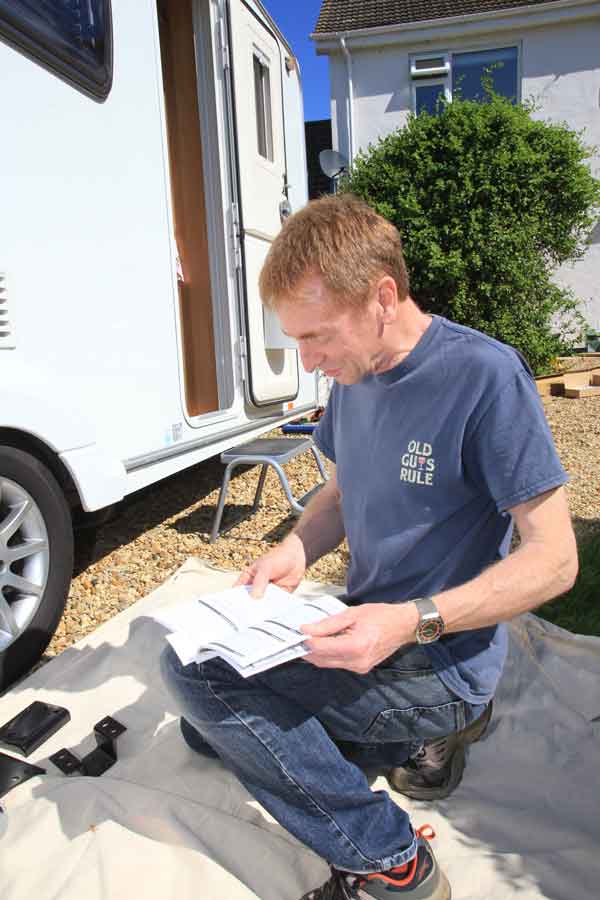
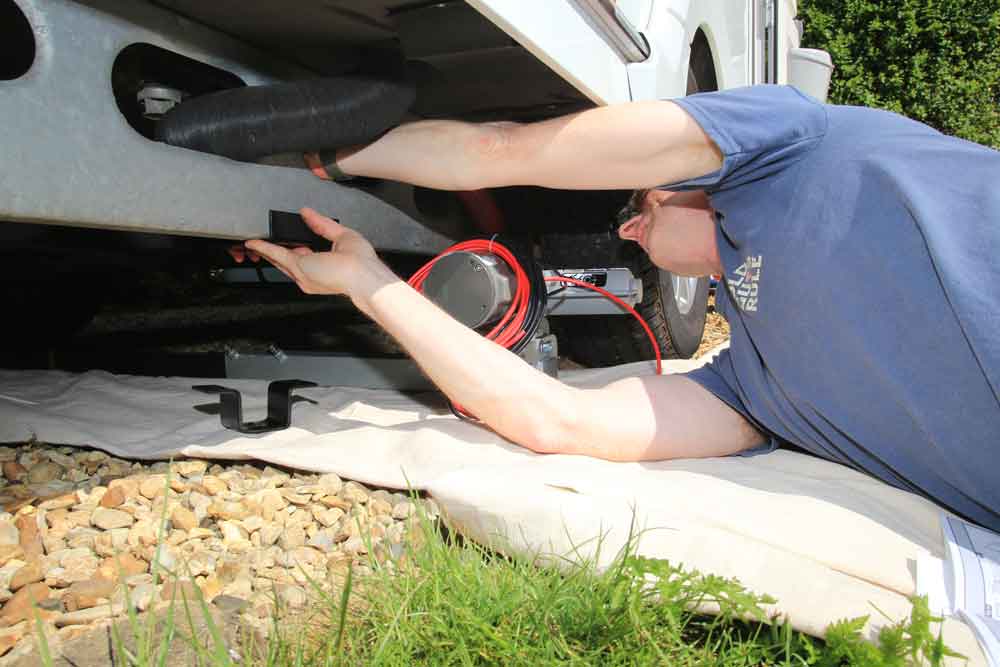
Kim has the Eccles parked on his gravel drive. He’s an advocate of the '5Ps rule': Perfect Preparation Prevents Poor Performance, so he’s already checked the contents of the box and ensured he has all the correct tools to hand.
Kim knows that singlehandedly supporting the large units while trying to bolt them in position will be very tricky, so he’s worked out that he can use bricks to hold the units in place, while he bolts them on.
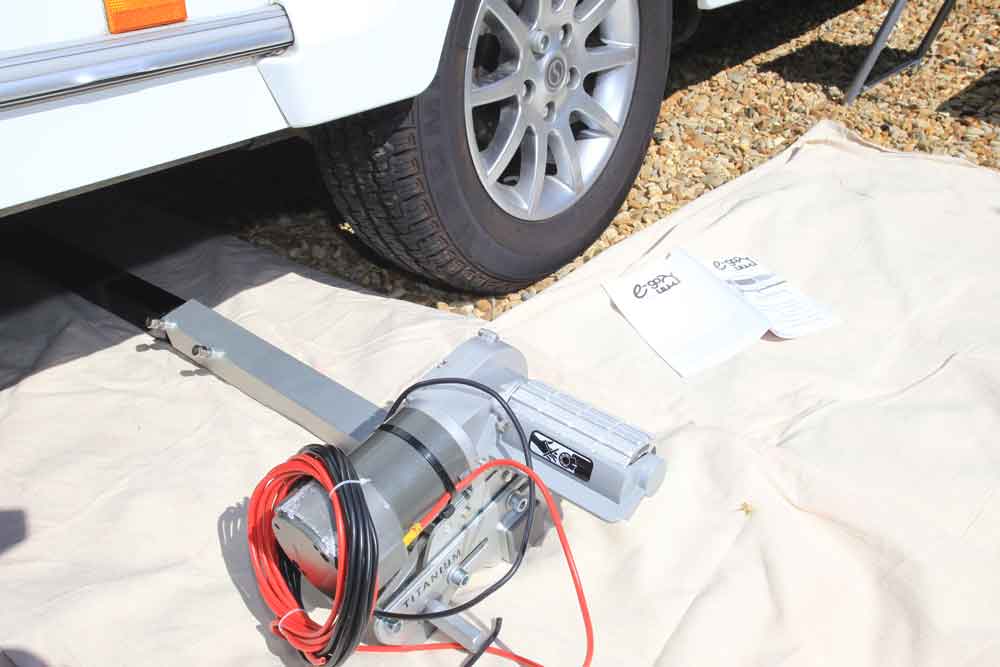
Kim has chosen an Ego Titanium manually-actuated motor mover (purpleline.co.uk). Th motor mover is a high-quality, lightweight unit (23kg total) with impressive credentials. You can engage both rollers from either side of the caravan (good for tight parking spots), the motors feature soft-start technology (suitable for your crockery!), and the system is modular so that it can be upgraded (right for future-proofing). A Titanium single-axle mover outfit costs £899.95.
Yours truly stands back, camera in hand and Kim cracks on.
1 Kim winds up the rear steadies and...
2 …raises the jockey wheel to its maximum height, to give sufficient working space under the caravan.
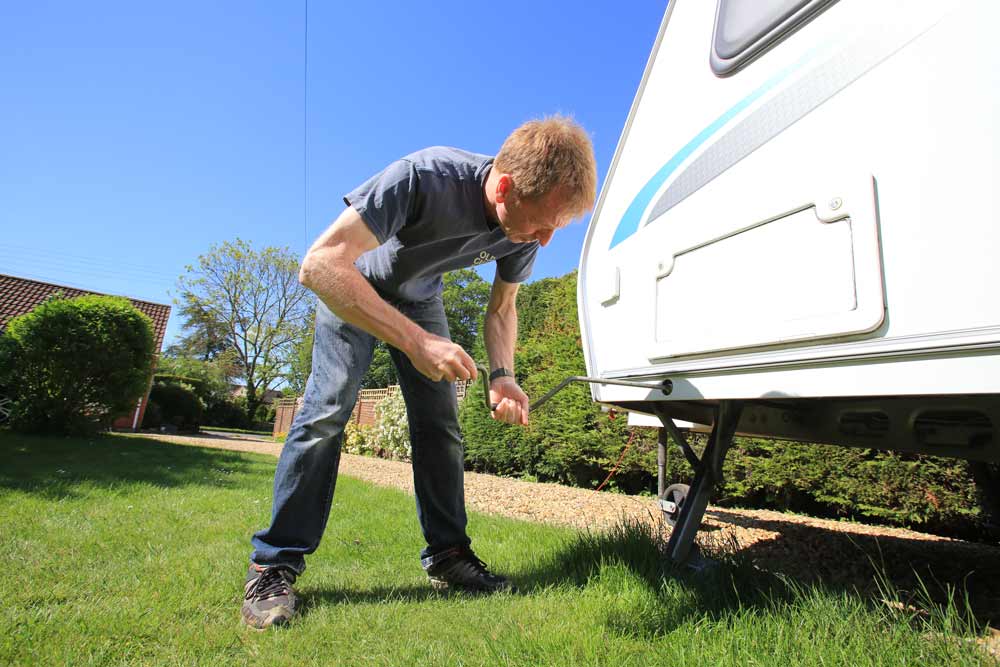
3 He then lowers the front steadies as a precaution for when he’s working under the caravan.
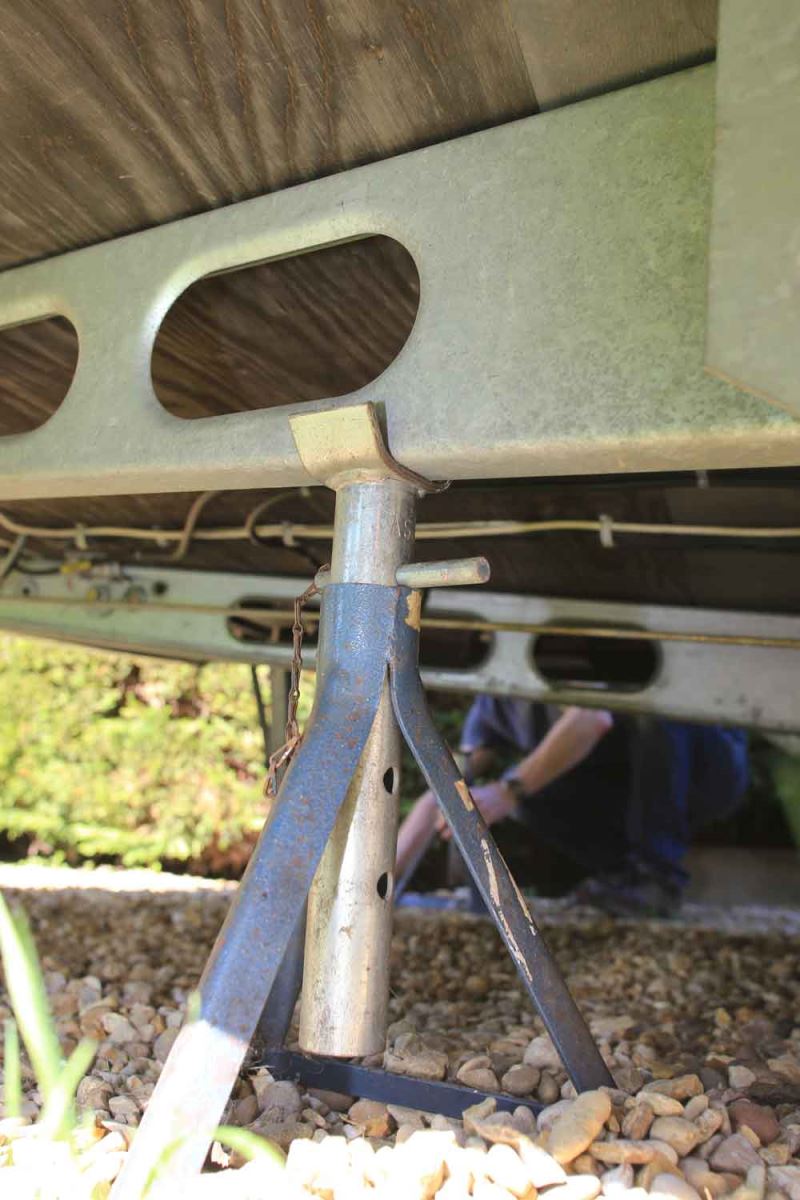
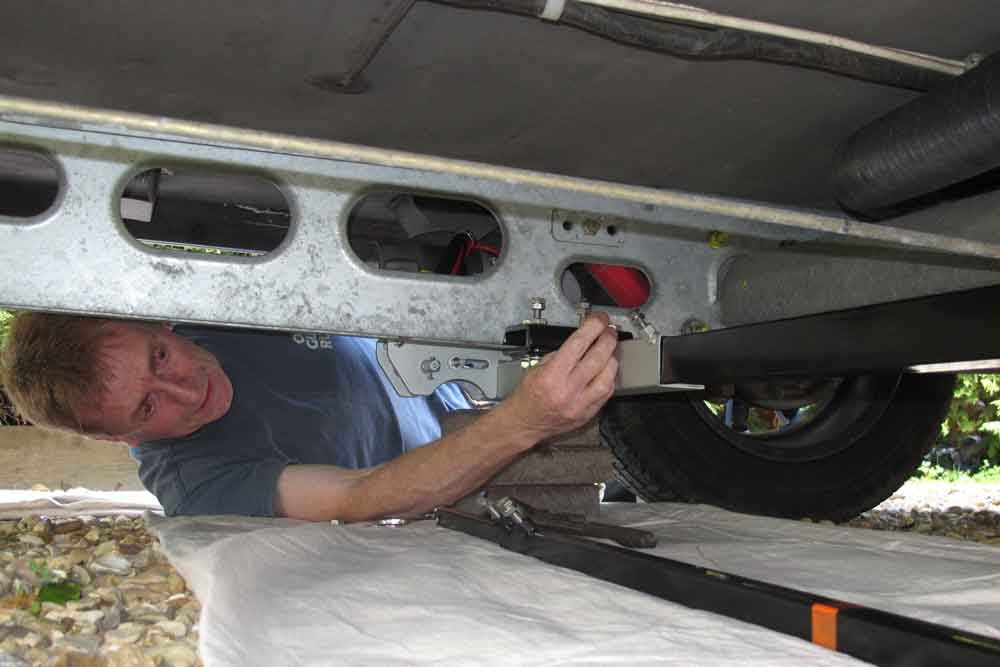
4 As an extra safety precaution, Kim positions axle stands under the chassis members (not the caravan floor).
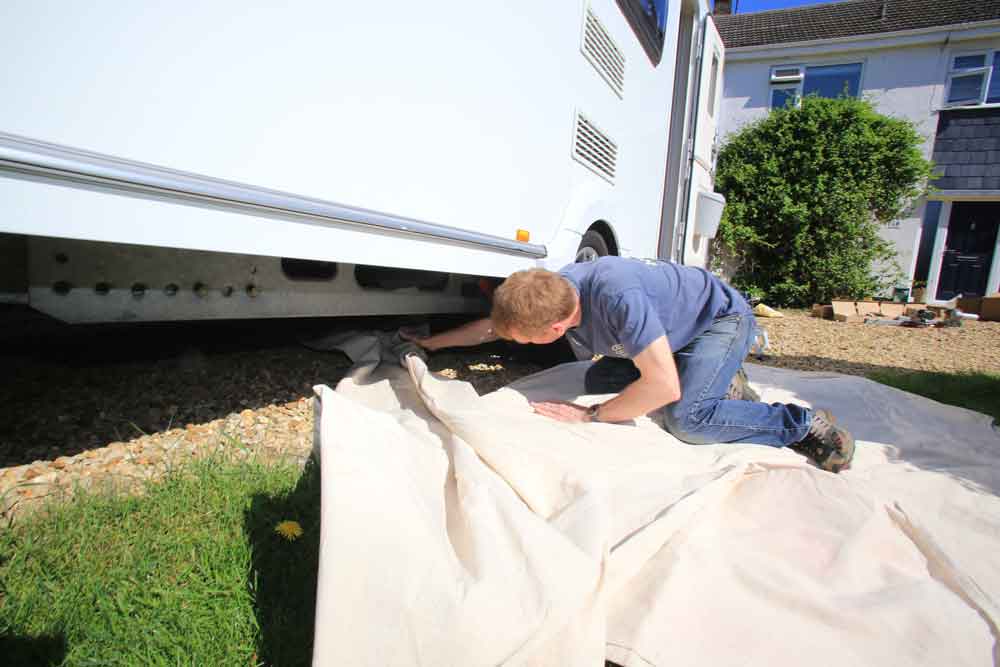
5 To avoid spending hours playing ‘Find the nut in the gravel’, Kim spreads out a ground sheet under the work area.
6 Next, he lays the motor mover parts in their approximate positions.
7 Kim regularly consults the instructions to minimise the chances of any mistakes. At this point, he also disconnects the battery.
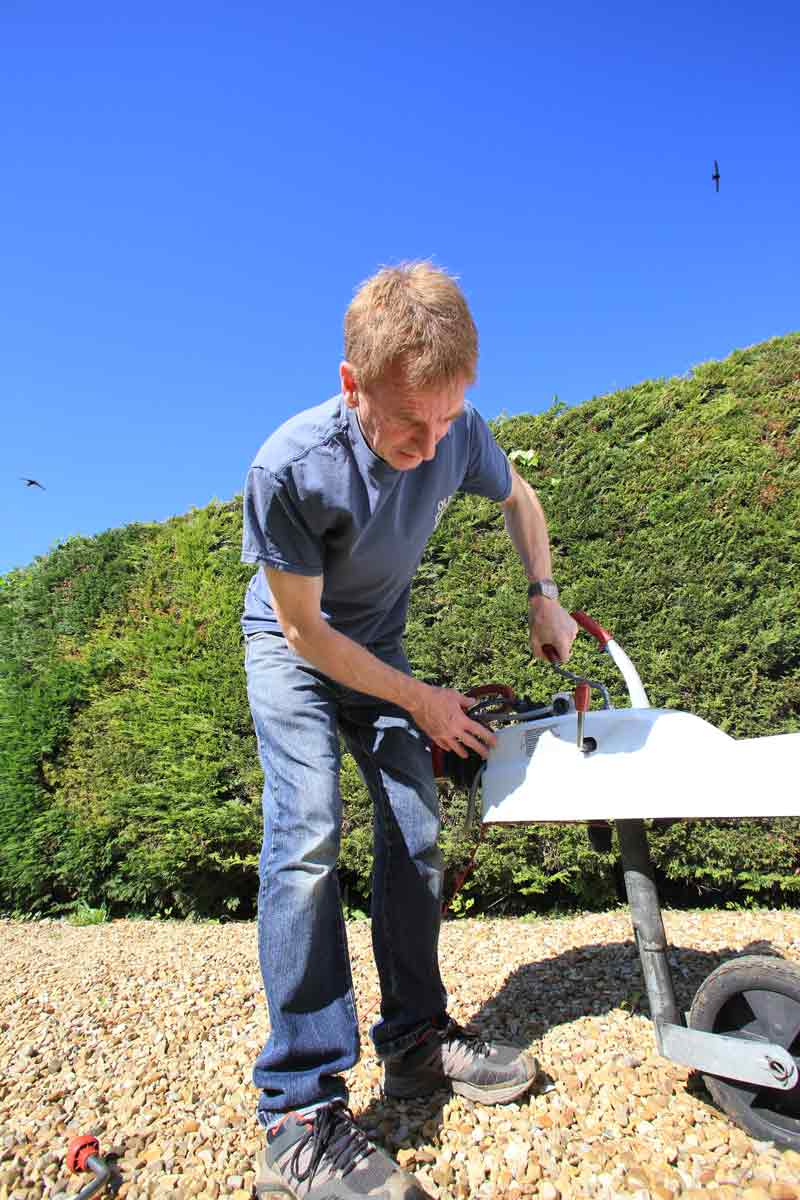
8 Kim slots the system together loosely. The two motor units are connected by a square cross member and by the ‘manual actuator bar’. If you have a manual-actuation model, like this one, ensure the actuation cross member will fit between the two units before installing the second mover unit. On this model it’s adjustable, so will slot on post-fitting.
9 He checks the mounting plates and prepares the basic nuts and bolts.

10 Now he’s ready to chock both motor units in position using two-inch bricks. He allows sufficient space to slide in the mounting plates.
11 Mounting plates sit between the mover and the chassis.
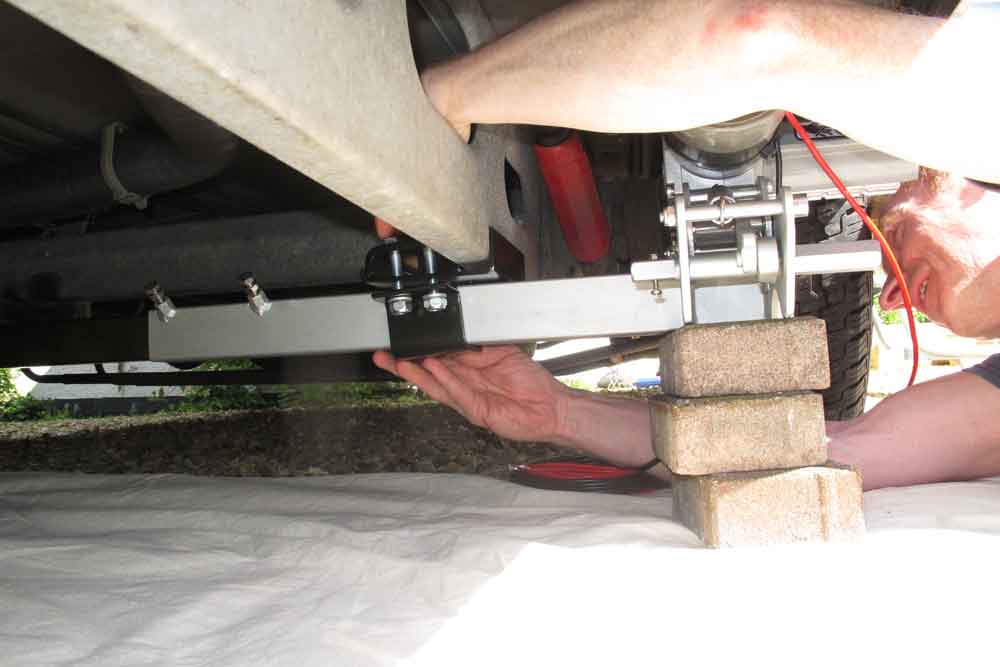
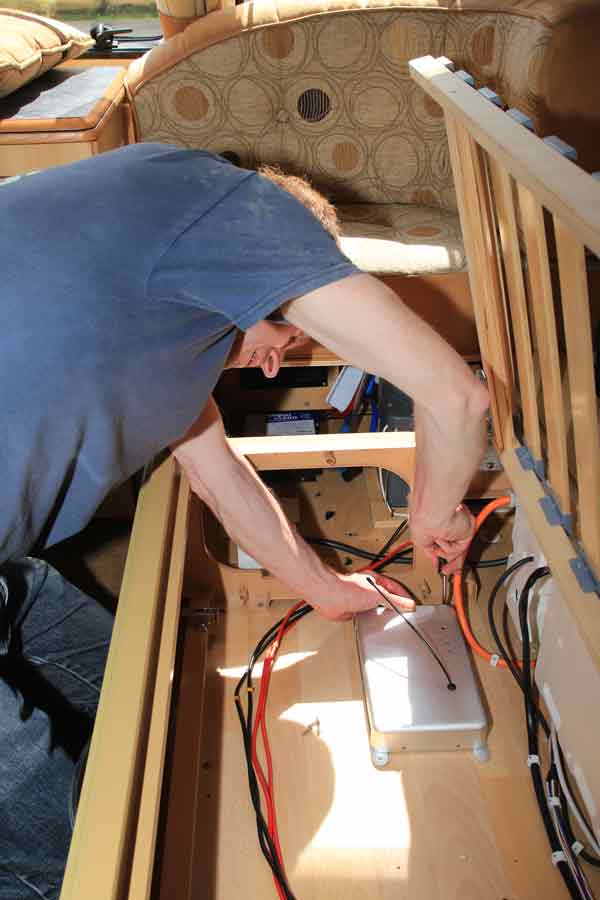
12 Kim loosely bolts these in place. Leave them slack enough to slide forward for final positioning.

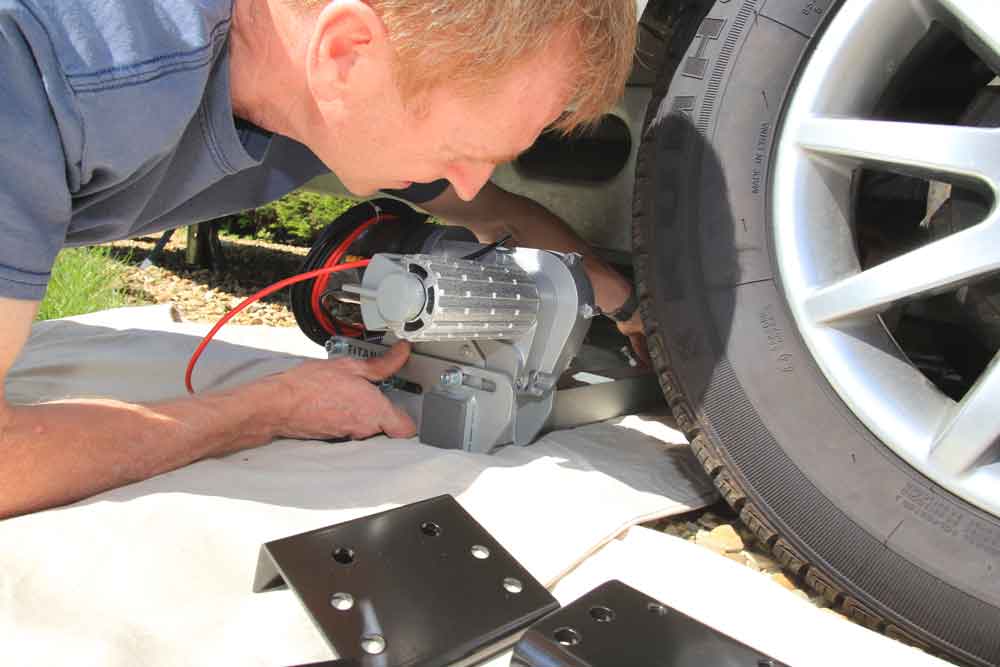
13 Once both sides are loose, Kim pushes the units forward toward the tyre and uses the supplied tubular spacer to set the roller-to-tyre gap, which in this case is 20mm.
14 At this point, it’s important to check the clearance between the mover housing and the tyre. It’s a bit tricky to see behind the roller, but you’ll feel a gap if you slide in your finger. The gap should be around 10mm.
15 If this gap is too small, or the mover body is touching the tyre, slide the mover on the cross member to increase the gap.

16 Kim now ensures that the cross member is centrally located, using the centre mark.
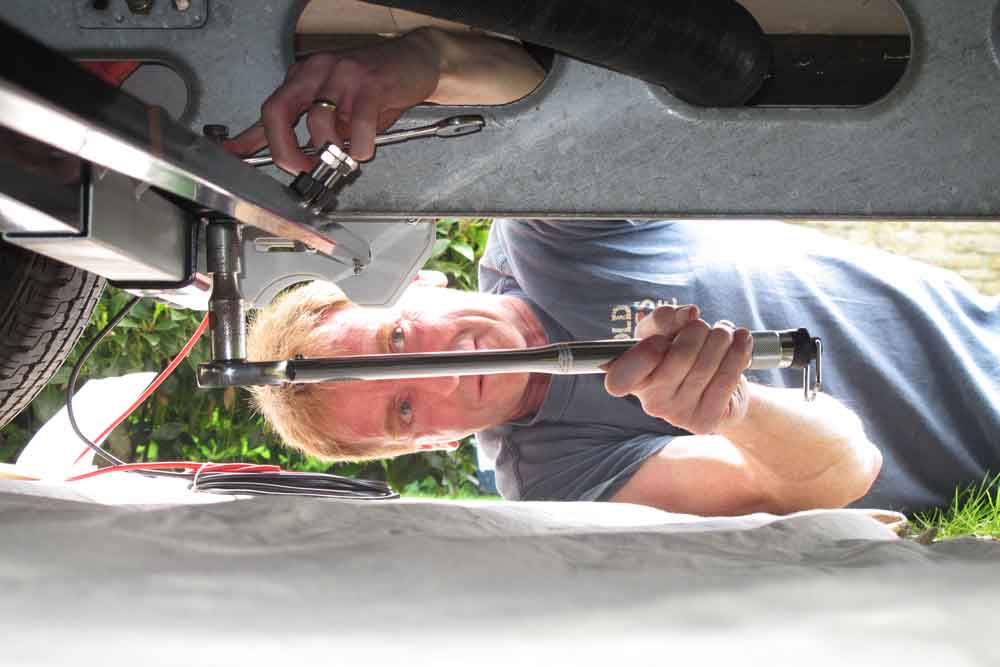
17 Then, he tightens the mounting plates and cross member bolts.
18 He torques the mounting plate bolts to 40lb/ft 55NM. You’ll need a spanner to hold the bolts from turning as you tighten the nuts. Holding the bolts in can be a bit of a ‘knuckle-grazer’ job, but is straightforward with a bit of perseverance.
19 Kim then repeats the bolt-tightening process on the other side.
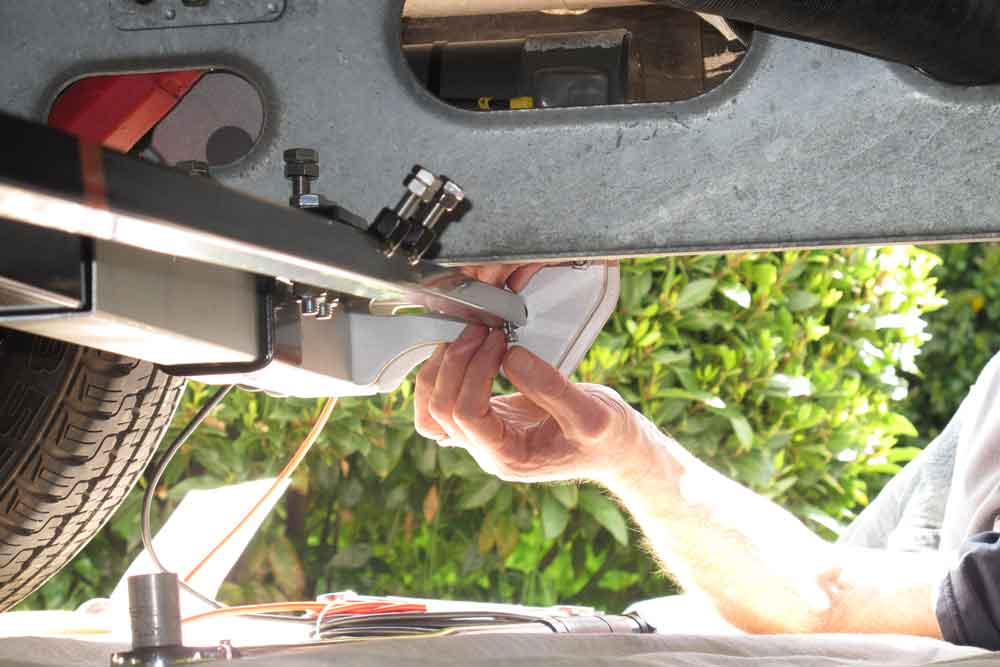
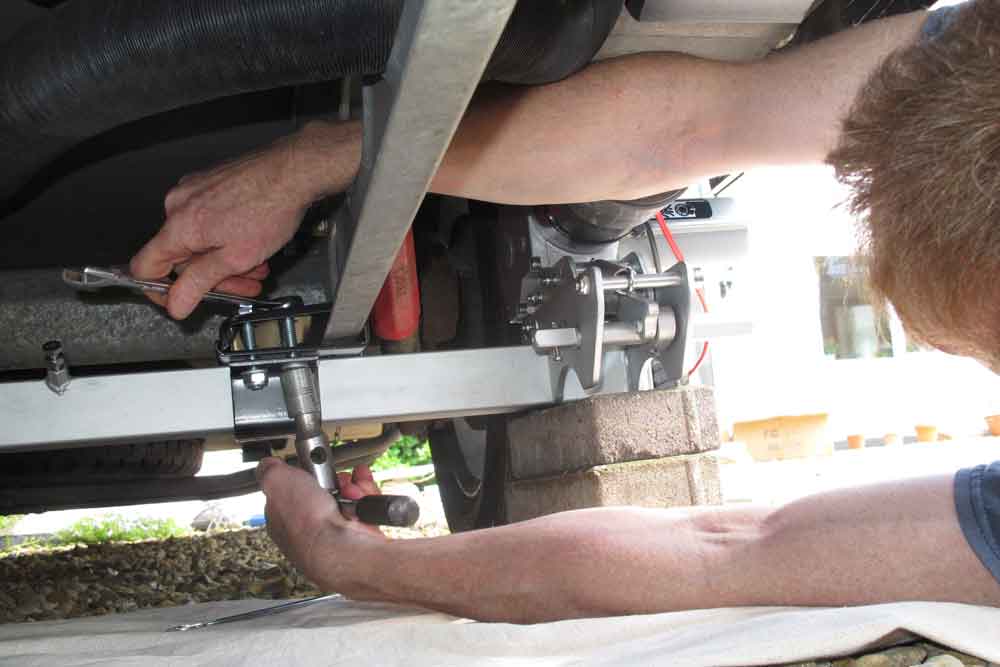
20 Kim fits the actuator bar, ensuring it is centred.
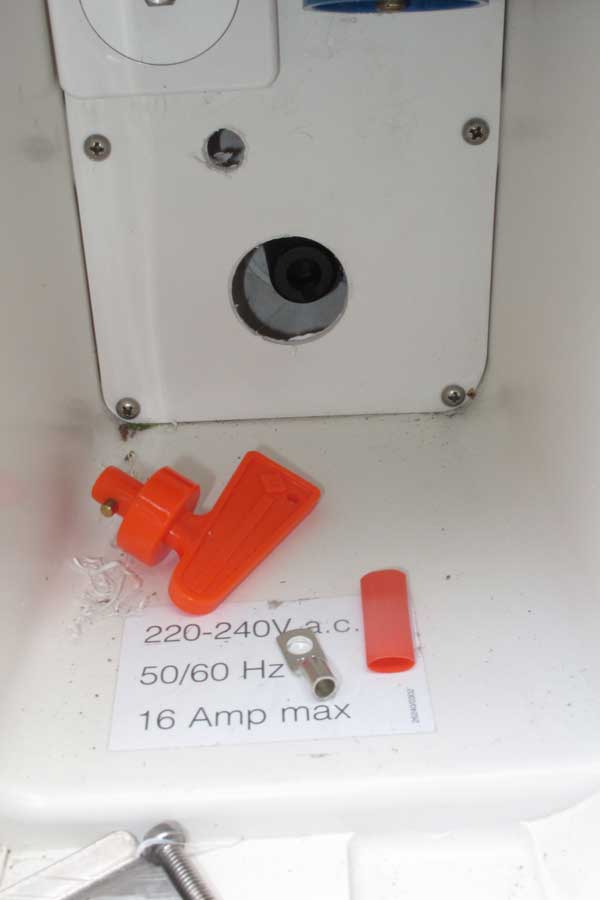
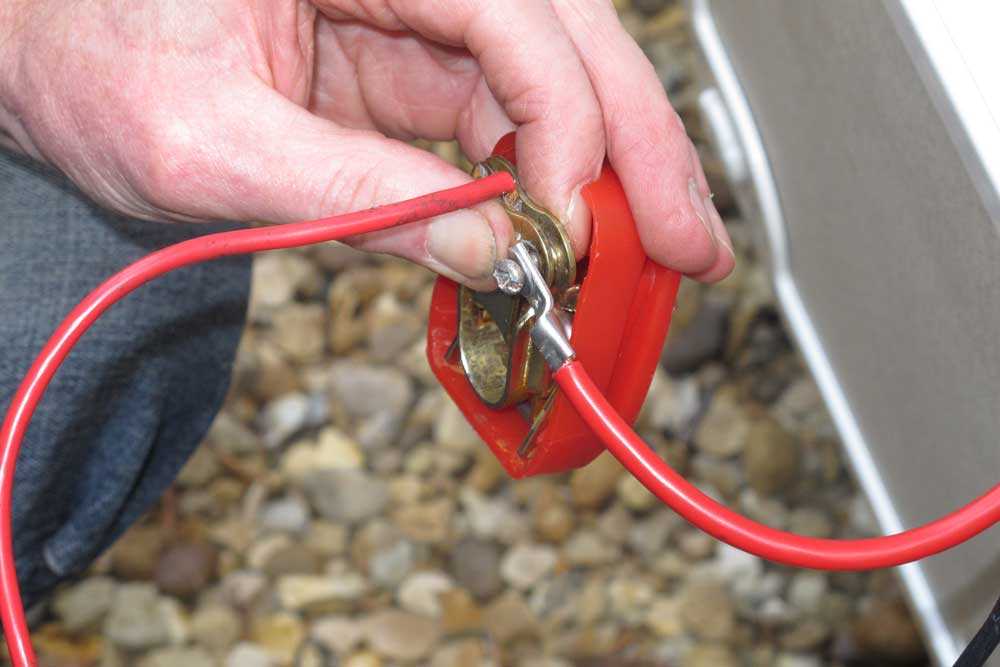
21 Finally, he fits the ‘pinch bolts’ into the mounting plates. These are pointy ended and ‘bite’ into the chassis member to prevent any movement. Using the pinch bolts is a ‘belt and braces’ approach. Properly fitted, the mover is not going anywhere!
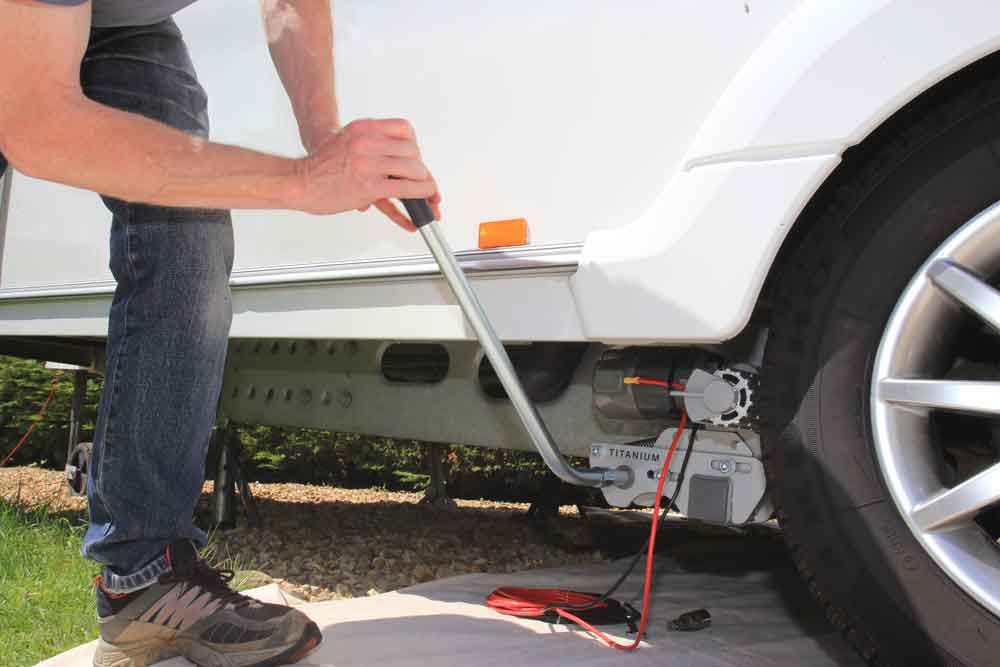
22 Kim engages the rollers with a twist of the long-handled wrench supplied with the kit. It takes some effort and the rollers press very firmly into the tyres.
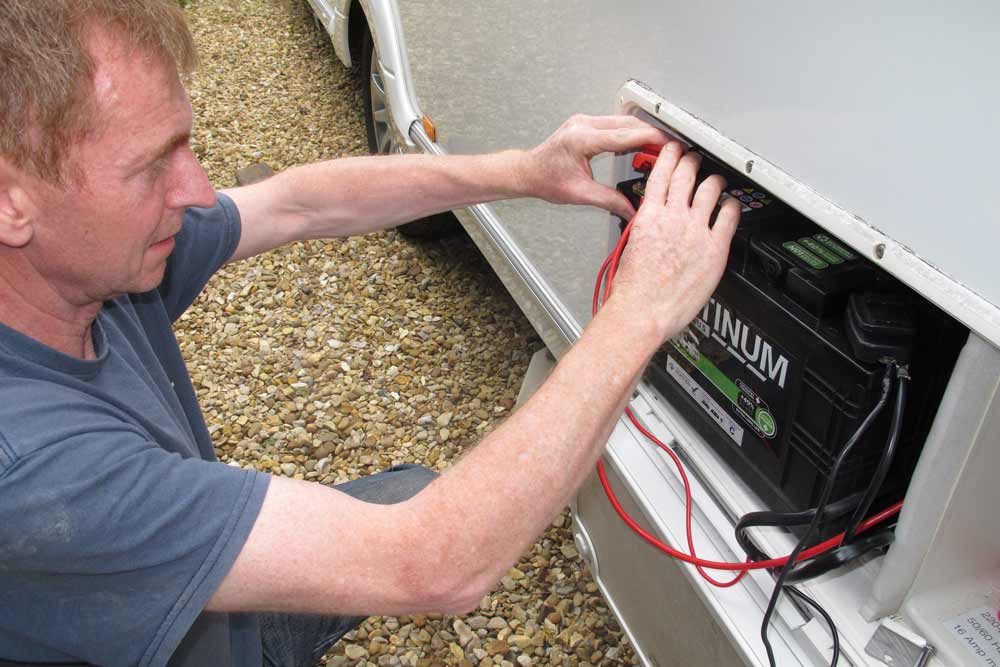
THE BULK OF THE MECHANICAL WORK IS NOW DONE.
23 Next, Kim has to fit the control unit.
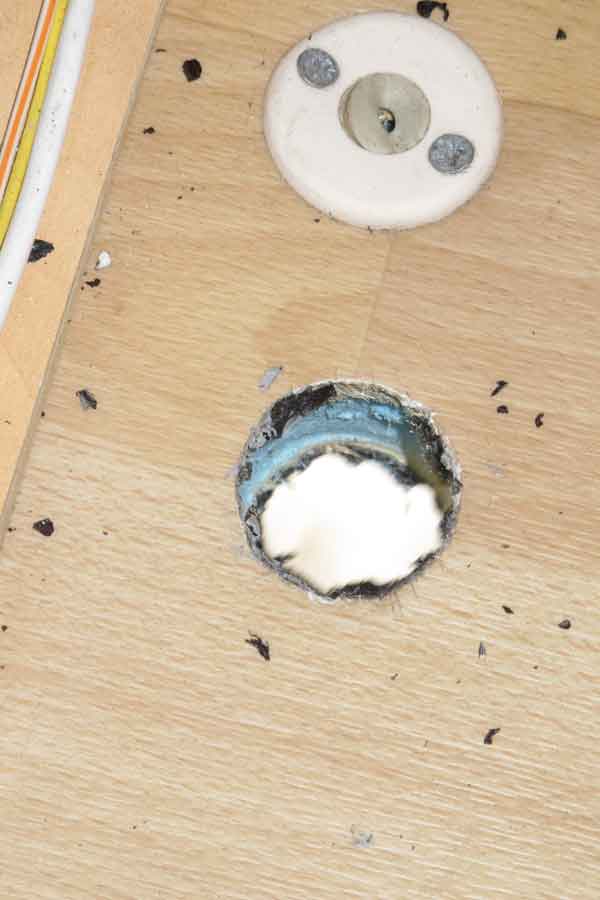
It turns out that Kim’s 2008 Eccles Moonstone, has had a mover installed previously, so he opts to use the existing hole to bring the power leads into the van from the mover units.
24 Removing the rubber sealant ‘bung’ is a bit of a chore, but, using a Stanley knife, he eventually gets it out.

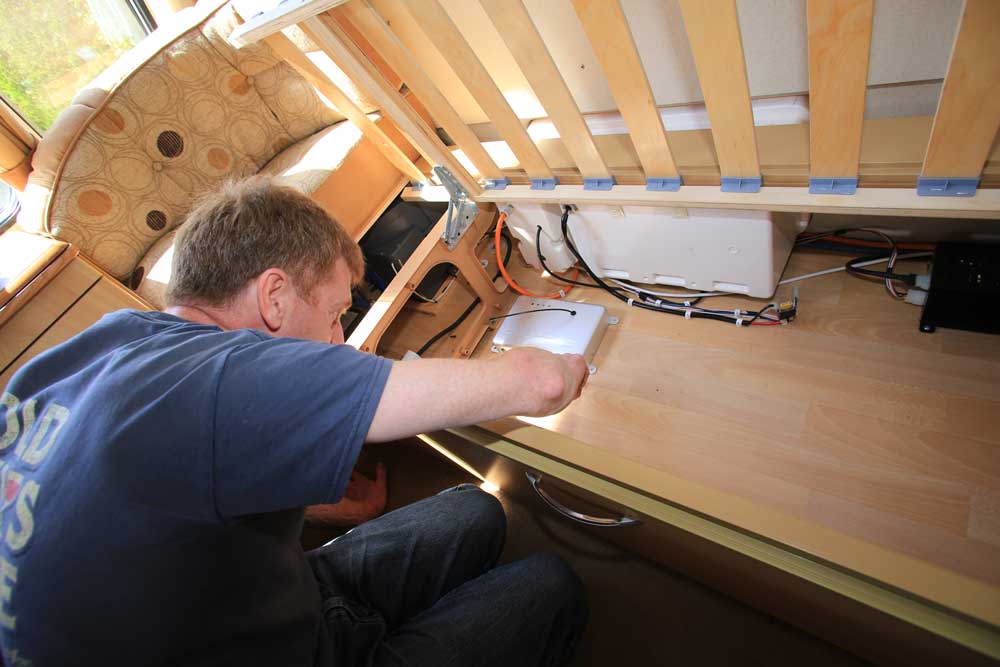
25 The control unit is going under the front offside sofa, where it looks like its previous owner fitted it, right next to the battery box.
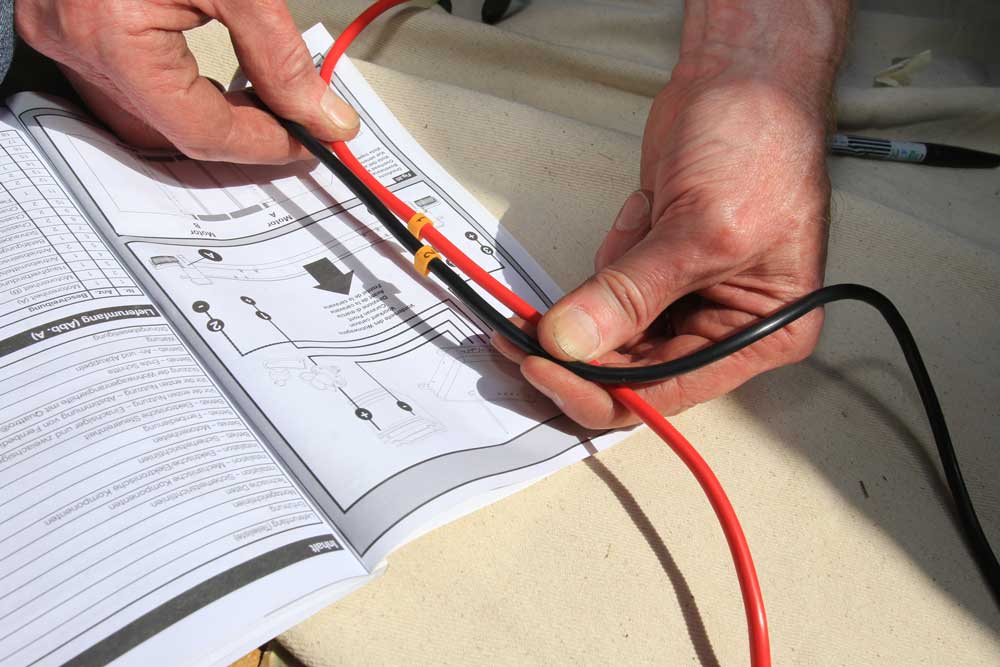
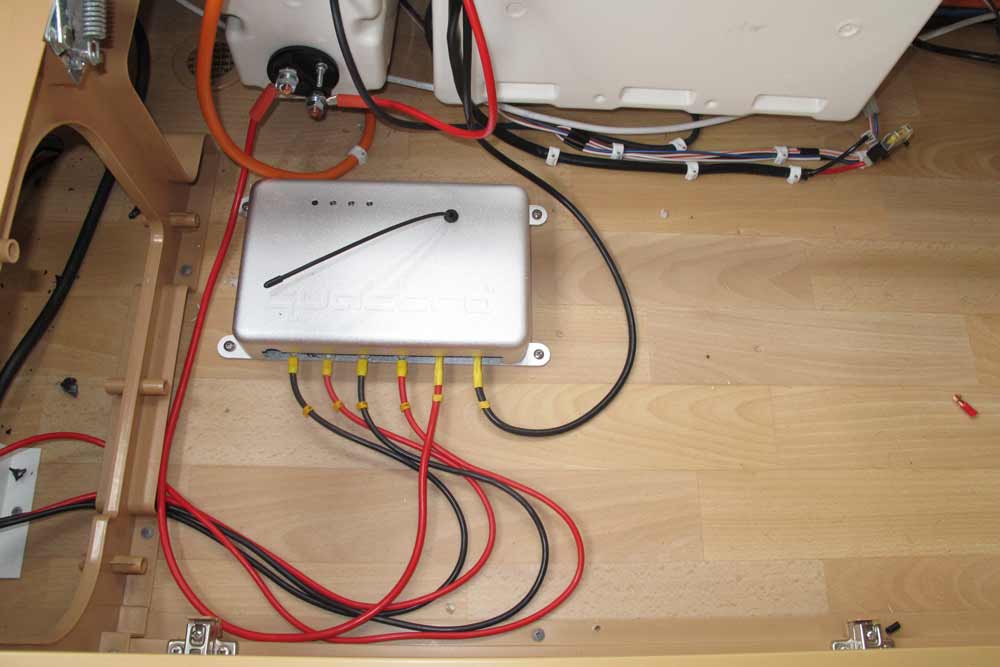
26 Kim marks the cables from the mover units with supplied cable markers (though you could use tape), this way he knows which is which when it comes to connecting them to the control unit.
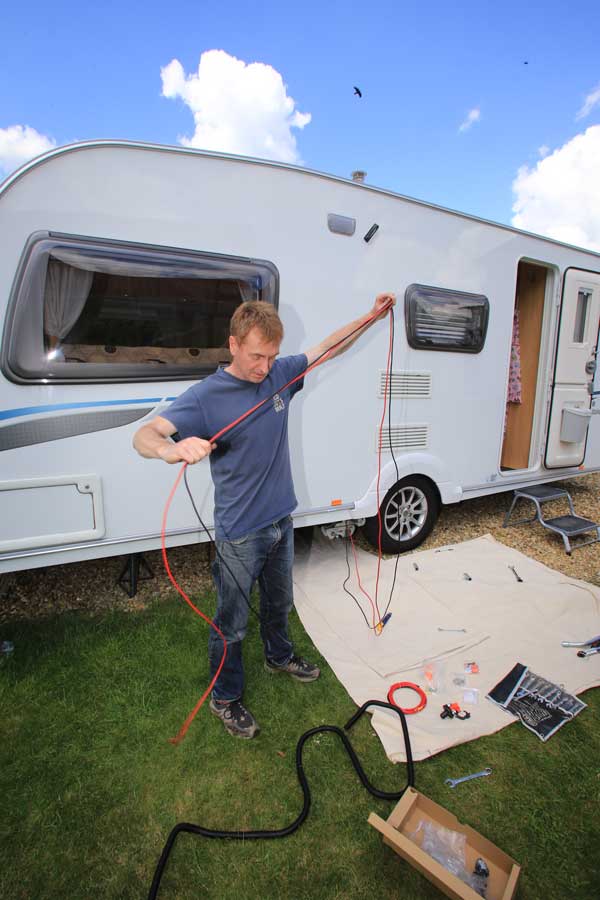
27 It is best to try to keep the cables of an equal length to ensure same power delivery to all motors and avoid looping them tightly, as this could cause heat build up.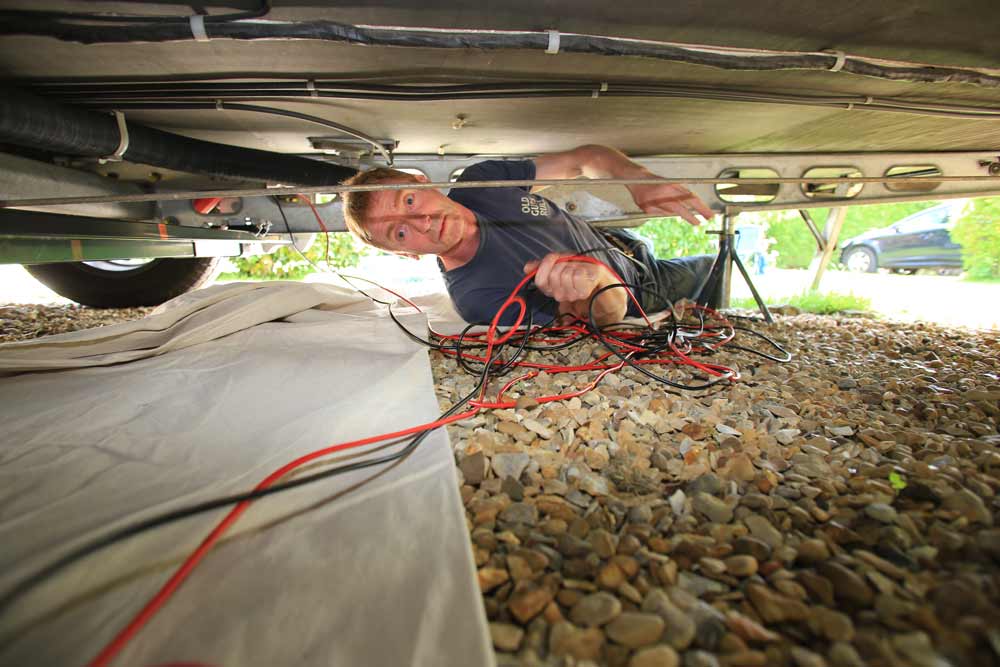
28 Kim plans the cable route under the floor taking care to feed them through the chassis member and leaving a small amount of slack to allow for motor mover actuation.
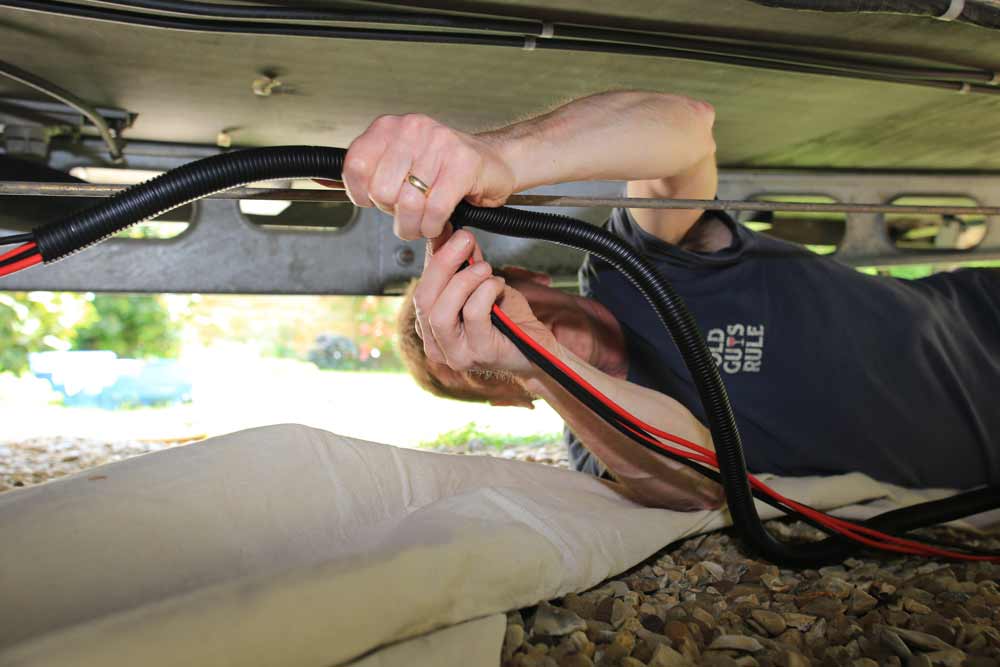
29 He protects the cabling with supplied trunking, particularly when it might rub on the edge of the chassis.
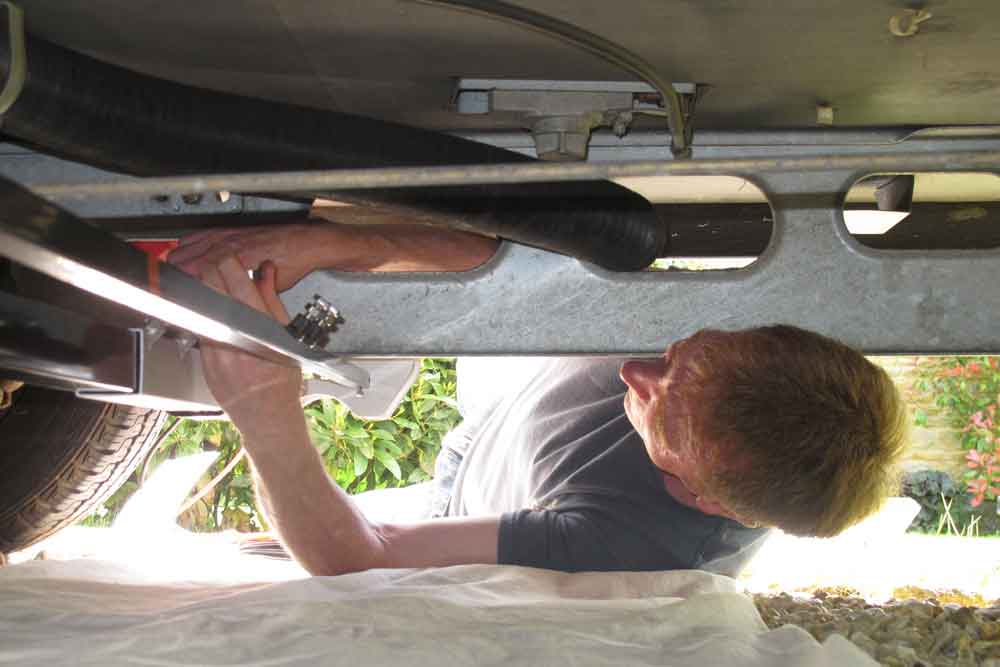
30 Squeezing under the caravan, Kim feeds both cables from each mover to the centre of the van floor and cable ties them together, before putting all four wires into the protective trunking.
31 Using the supplied fixers, Kim then secures the trunking to the underside of the van, though this isn’t the final fix.
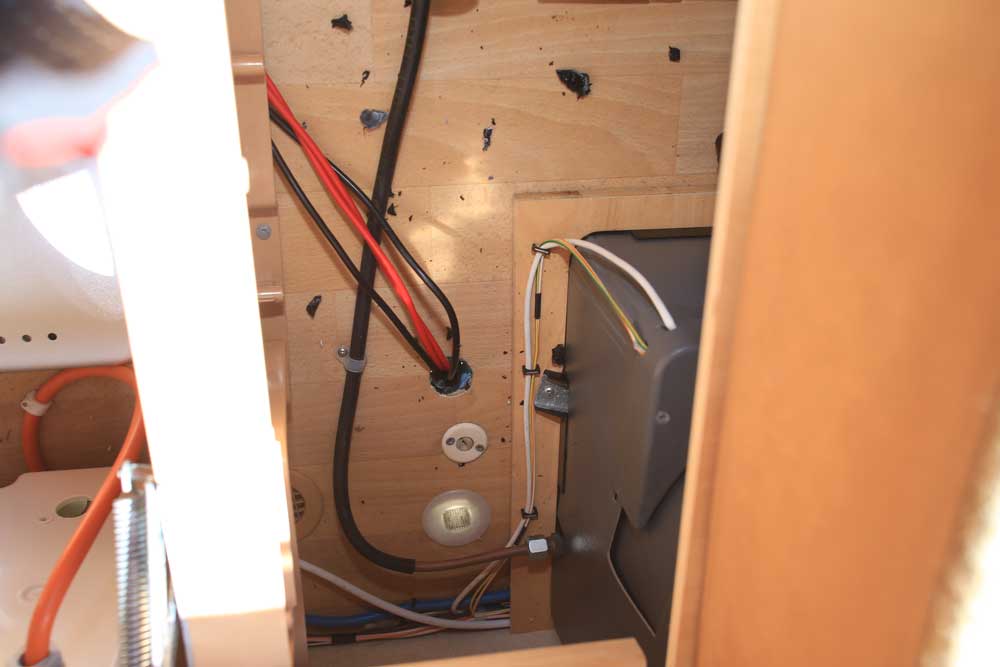
32 Kim runs the cables through the existing hole near to the control unit, which Kim screws into place with self-tappers – no drilling necessary.
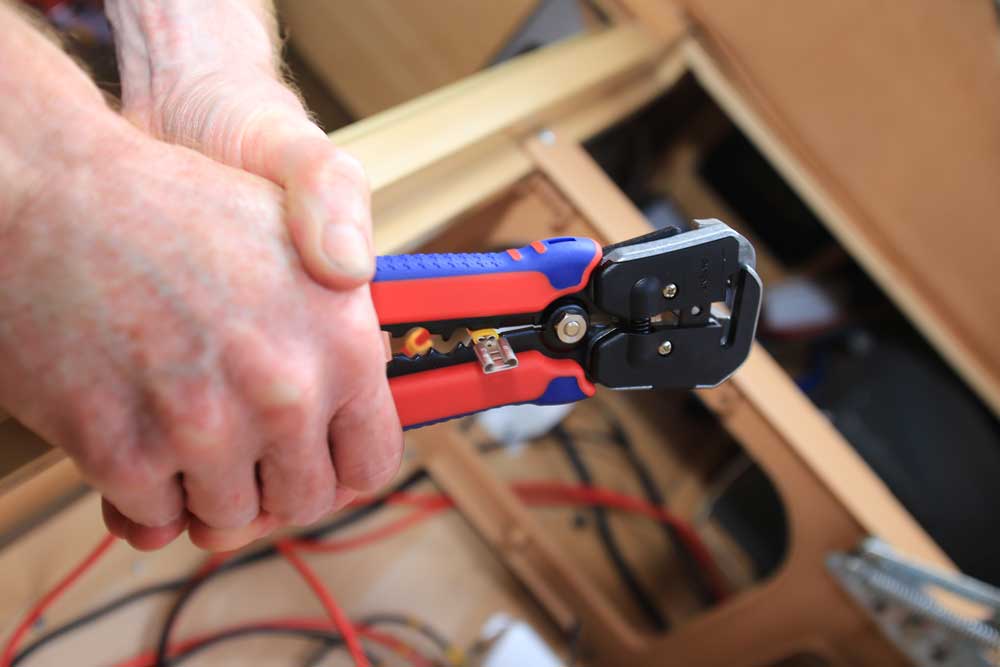
33 Next, he bares the end of the wires and crimps on a connector. Finally, he pushes the four numbered cables onto the respective control unit connectors.
34 Now Kim fits the master switch. Luckily, a perfectly-sized hole has been drilled previously, so it’s just a case of aligning the screw holes, which is a bit tricky and screwing the small nut and bolt proved the hardest part of the job. If there’s no existing hole, you’ll need to make one with an appropriate hole saw/circular hole cutter and an electric drill.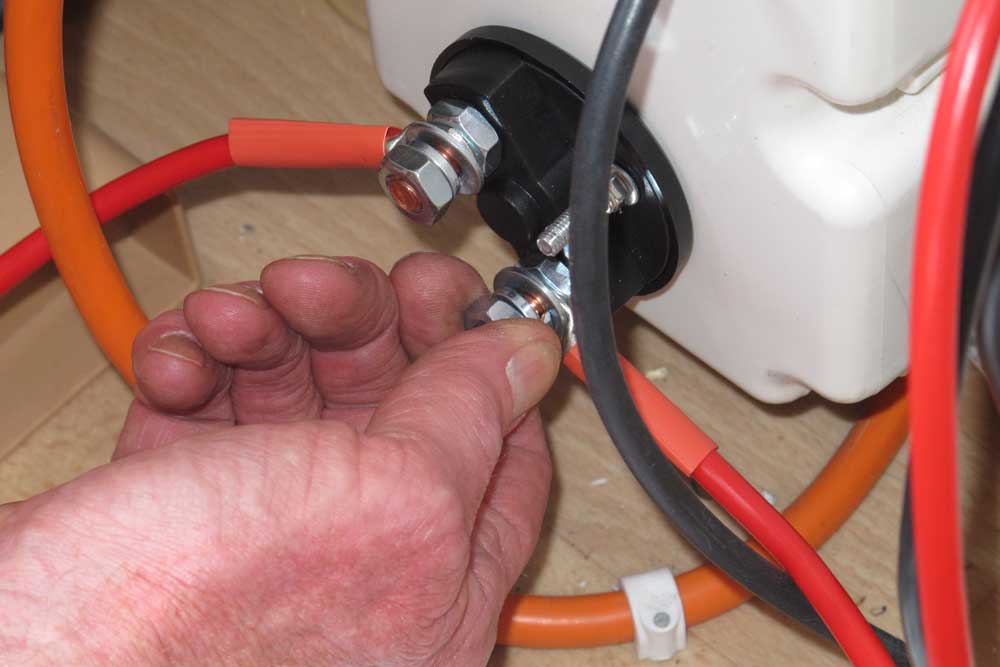
35 Kim then prepped the power cables from the battery to the master switch and the master switch to the control unit. Connectors were crimped on.
36 Kim then fed the cables through into the battery box and screwed onto the battery’s positive and negative clamps.
37 All that was left for Kim to do was to check the system works, then tidy up the cabling with clips and cable ties.
Remote control
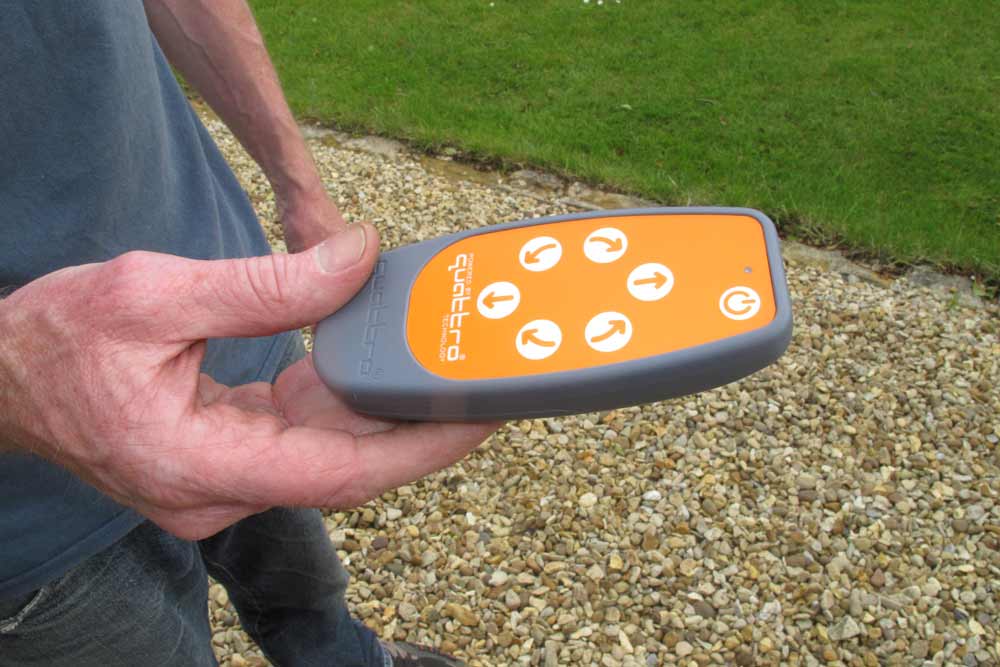
So, the moment of truth. Kim fired up the system with a double-press of the remote control’s ON button. There’s a beep and we hear an electronic click from the mover units.
His thumb moves to the forward button and, on pressing it, the van moves backwards! For a moment I think he’s got the wiring the wrong way round.
“Don’t worry,” he says, “I pressed the wrong button!” With that the van moves gently forward, the soft-start motors working a treat. A broad smile spreads across Kim’s face. I’m impressed. I’ve watched pro technicians experience fitting problems in the past, but Kim sussed it all first time, partly due, no doubt, to the excellent instructions and care taken throughout the process.
What Kim says about the E-go Titanium motor mover:
“Everything’s here, even spacers for positioning the mover the correct distance from the tyre. This ensures the pressure is correct once the manual actuator is engaged.
“They really do seem to have thought of everything, even the tool to lever the rollers into place is the same size as the wheel bolts, so if you misplaced it, you could use a wheel wrench.”
“It’s pretty simple, just big Meccano really. The only issue is the awkwardness of bolting the plates on. It’s almost too awkward to get power tools in to speed things up, they’d be too bulky. You need to be left-handed on the left side, and vice-versa.
“If you can get access to a pit or ramp, I’d recommend it.
“Overall, I’m delighted.”
Why DIY?
- Save £150-£200 fitting it motor mover yourself.
- Know it’s done properly: all holes sealed, trunking used, units aligned etc
- Sense of achievement
Tools needed
- Axle stands
- Spanner/ratchet set
- Blocks/bricks
- Torque wrench
- Work lamp (depending on conditions)
- Ground sheet
- Drill, drill bits and hole cutter (ideally you can use existing holes)
- Screwdrivers
- Mastic sealant
- Wire cutters and crimpers

Recent Updates
Caravan showers: all you need to know
In this guide, we’ll discuss the different types of showers, how they work, and how to fit an external shower point to your caravan ...
Caravan towing: all you need to know
Towing a caravan may seem daunting initially, but a few simple tips can make the journey enjoyable and ...
All you need to know about towbars & towballs
Flange, detachable, swan neck, retractable – towbar technology choice is bewildering. Don’t worry. We’ll ...
Caravan WiFi: everything you need to know
Caravan holidays are the ultimate way of getting away from it all, although we sometimes need a link to the ...
Caravan insurance: all you need to know
Navigating the world of caravan insurance can feel like a daunting task. Fear not, as this comprehensive ...
Buying a caravan: what you need to know
Let us guide you through some of the complicated things to think about when first looking at buying a ...
Caravan awnings: a buyers' guide
Caravan awnings are a fantastic addition to any caravan as they are one of the simplest, quickest and most ...
Caravan electrics: avoid tripping out
All caravan owners have overloaded their mains supply at some time. Here’s how to master caravan electrics ...
Caravan heating systems: a quick guide to caravanning warmth
When winter is here, you’ll be glad of a decent caravan heating system if you’re out touring. Here’s how the ...
Caravan damp: a complete guide
There's little more guaranteed to strike fear into the heart of a caravan owner than the word 'damp'. But if ...
Other Articles
Caravan jockey wheels: the definitive guide
A well-functioning caravan jockey wheel can make all the difference to manoeuvring away from the towcar, especially if you don't have a caravan mover ...
Caravan cooking recipes
Caravan cookery inspirational ideas. No need to stress out in the kitchen with these quick and easy ...
Caravan bike racks: a complete guide
Exploring the beautiful surroundings while on a caravan trip is undeniably one of the greatest joys of the ...
Caravan solar panels: all you need to know
Whether you dream of roaming off-grid or just fancy reducing your carbon footprint, fitting solar panels to ...
The ultimate guide to caravan layouts
Choosing the right layout or floorplan of your caravan is an all-important part of the buying process – find ...
A guide to seasonal caravan pitches
Our in-depth guide to finding and securing seasonal caravan pitches on your favourite campsite ...
Caravan weights and payloads: a quick guide
The terminology of caravan weight – MIRO, MTPLM, noseweight, kerbweight, payload, weight plate upgrade – is ...
The ultimate guide to caravan motor movers
Caravan motor movers: everything you need to know about remote control caravan manoeuvring ...
Caravan cleaning: All you need to know
Whether you’re taking the caravan out for the first time or it’s just in need of a spruce up, our guide will ...
18 essential items for camping with your dog
Camping is for the whole family – including our four-legged members. Here's what you'll need to keep your dog ...