


Camping skills: How to make your own zipped-in tent groundsheet
Camping magazine reader Yvonne Perk reveals how she created a zip-in groundsheet for her Outwell tent
I enjoy going camping all year round and have camped in the UK and in Europe. I ride a motorbike too, so I go to lots of bike camping rallies.
Like many people, I have plenty of camping gear, but I use the excuse that I need one set of camping gear for the motorbike and another set for the car.
I love camping gadgets, but I do love to see if I can make my own modifications and improvements, too . Having been gifted a sewing machine, I’ve discovered that I can now combine my love of camping with my love of sewing.
I decided I needed a smaller tent, just for those short two or three-night breaks. All my other tents are polyester so I decided to venture into polycotton for a change.
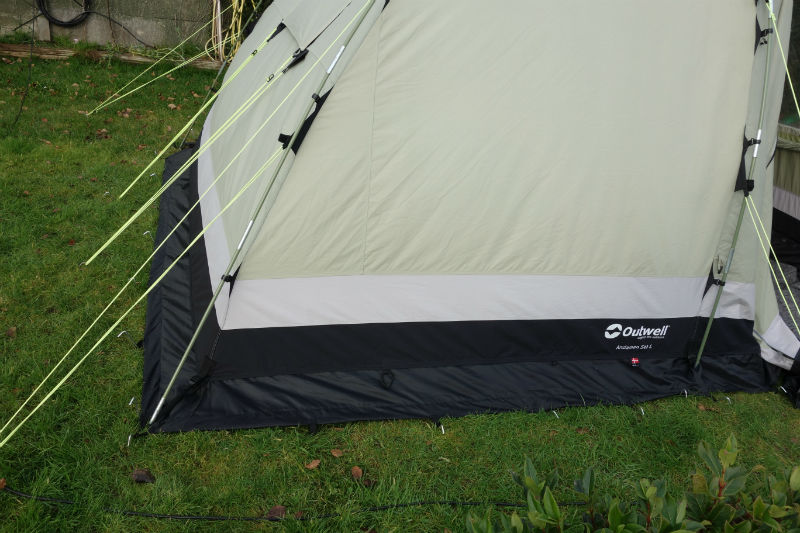
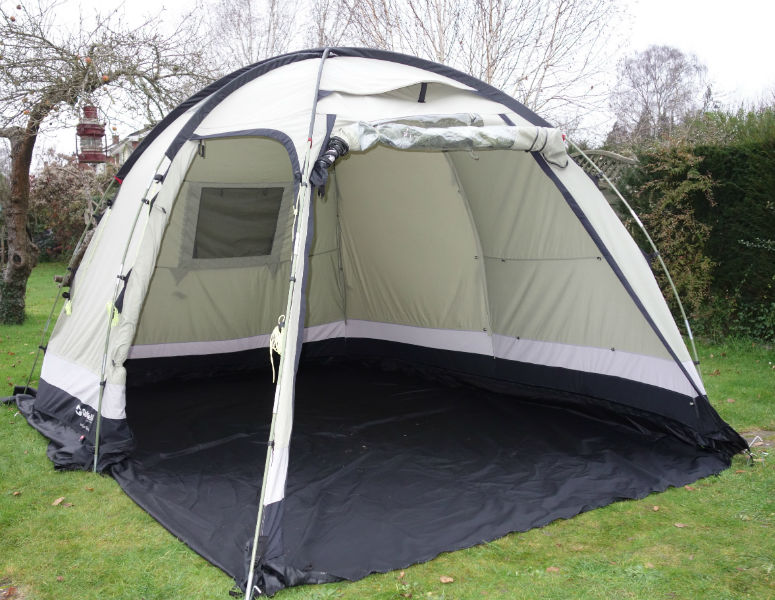
Trying to find a small two or three-man, full-height tent under 20kg with a small pack size was a bit of a challenge – there just aren’t that many around. Those that I could find were pretty expensive as well, with none really ticking all the boxes. After much searching I stumbled on a nice secondhand Outwell Andaman Sea L – a lovely dome-shaped tent, 3.6m x 2.7m, over 6ft throughout and weighing in at 19.7kg. With a pack size of 79 x 30cm it was perfect for two adults and a small dog. Well nearly perfect…
The tent itself is a great size and shape, but it had two issues. The first was the bedroom pod – it’s just too short so you have to sleep side on, which I don’t really like. I decided I could solve that problem by simply removing it entirely, so I could have the tent open-plan and use the space as I liked (it’s polycotton so taking out the pod was fine).
 This is where the second issue came in – the bedroom pod has an integral floor, so removing it means you’d be camping straight on the grass as there is no sewn-in groundsheet (SIG). The living area had a detachable tub groundsheet, which only ran as far as the bedroom pod. Basically taking both out left you with the shell of the tent and no ground cover.
I could have laid a tarp down, but the tent didn’t have flaps around the bedroom part so the wind would howl through. I could have laid a bathtub groundsheet down, but not having flaps meant that the wind still blew through.
More importantly, though, using either a tarp or a bathtub meant the dog had an easy escape route, so I definitely needed to come up with a better solution.
I decided the only option was to fit a SIG or a zipped-in groundsheet (ZIG). After a bit of thought I decided to fit a ZIG – it splits up the pack weight, means the tent and the dirty/damp groundsheet are not packed together, makes cleaning and drying easier, can be unzipped to allow for ventilation on those hot days and gives a nice access point for the EHU. So, with a ZIG solution in mind I set about planning it.
I couldn’t find anything at all on the internet about fitting a SIG or a ZIG – I don’t think anyone has ever attempted it! I’m absolutely sure, though, that I’m not alone in wondering if you can replace your SIG or your ZIG or add one if you don’t have one.
I also decided it made sense to fit the missing flaps round the sides and back of the tent at the same time. To avoid a trip hazard I decided I would fit the ZIG with a zip-flat threshold to the two doors.
I drew out a design for the flaps and the ZIG, factored in seam allowances, etc, and then measured and measured again. And again and again. The fabric is not cheap, so I didn’t want to make a mistake. I’ve never done anything like this before, so I was making it up as I went along.
After carefully measuring the tent I calculated the fabric that I’d need. For this tent I needed three metres of coated polyester for the flaps. As I wanted something waterproof, tough, durable and sewable I chose eight metres of neoprene-coated nylon for the ZIG. I couldn’t get one zip long enough to go all the way round, so I decided to fit separate 10mm open-ended zips to each side. The separate zips are easier to fit anyway and you don’t have the issue of trying to fit a zip to go round corners.
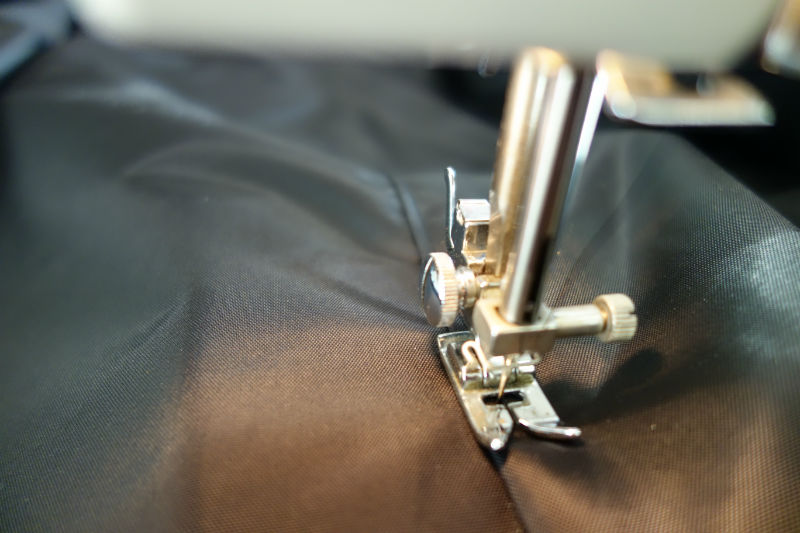
While the fabric choice is important, so is the thread you use – it needs to be polyester (not cotton or a cotton blend – it will rot) strong, durable, UV and rot-resistant. I used Gutterman RP60 thread. I sewed using an old domestic sewing machine (a Bernette 330) with a regular foot attachment, and a 100/16 needle, which is ideal for nylon.
The tent is now totally waterproof, draughtproof, dog-escape-proof and has an extremely durable zipped in groundsheet, which can be detached for easy cleaning. I’m very happy with it and really pleased with how it came out.
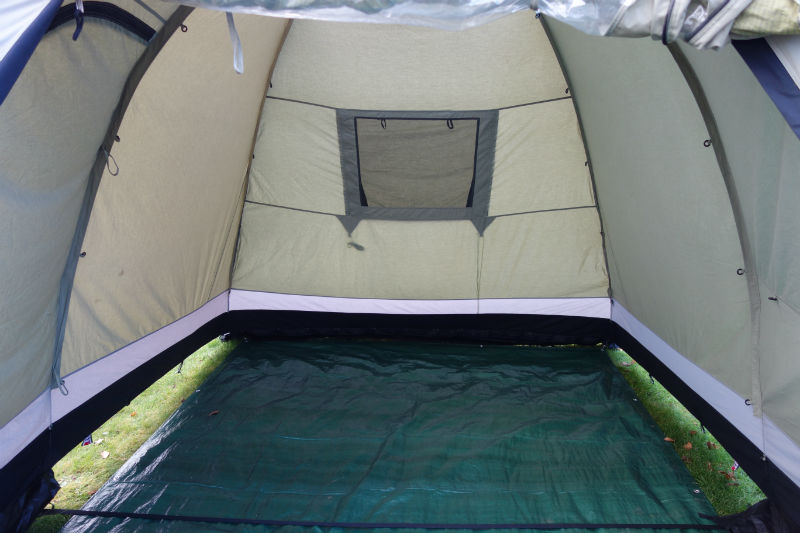
1 The gaps meant wind could get in and the dog could escape
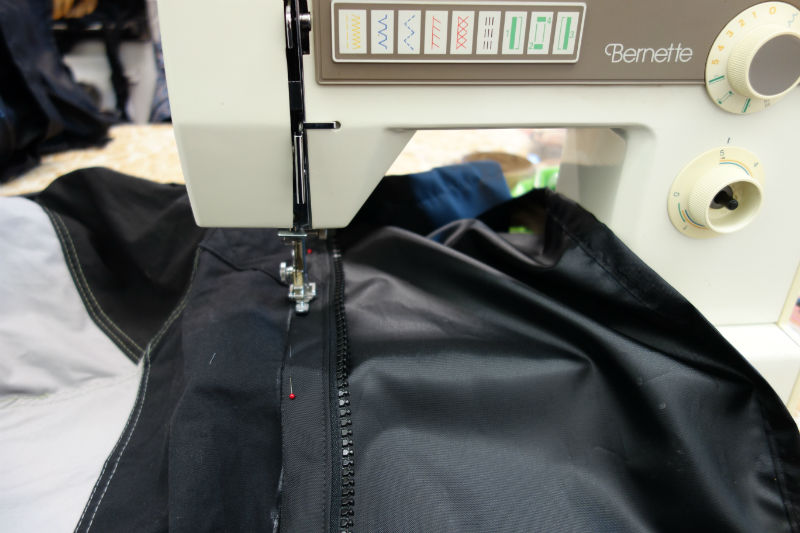
2 Sewing the zips to the new mud flaps
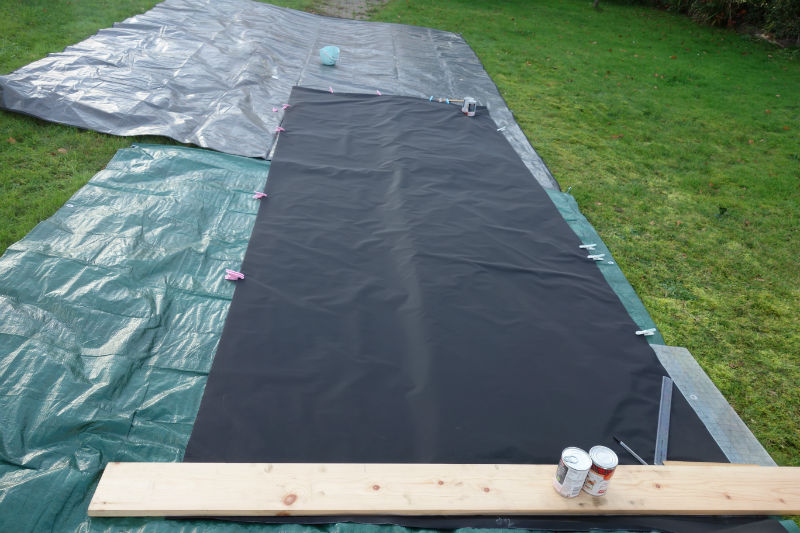
3 Pegs are fab for holding fabric in place as you don’t get unnecessary pin holes
4 Sewing a full flat felled seam to join the two halves of the groundsheet

5 The finished ZIG - it weighs just under 3kg

6 First fitting in the tent
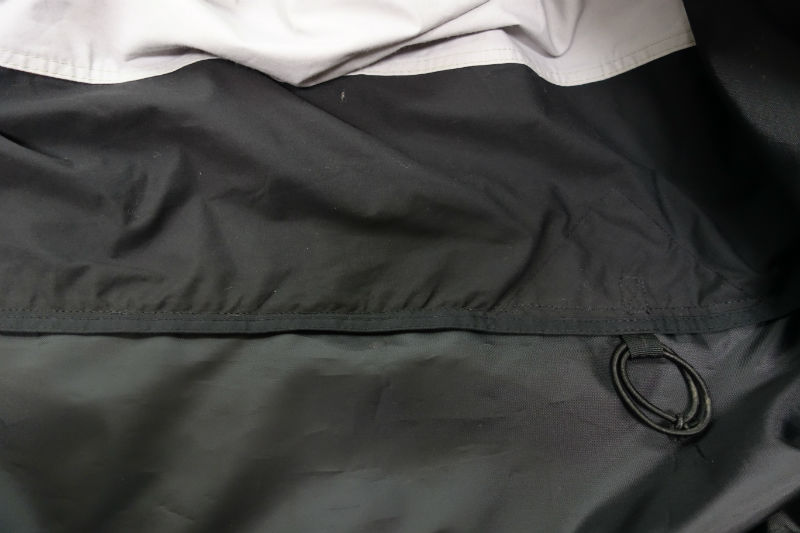
7 New storm flaps fitted to the tent, sewn just above the original hemline
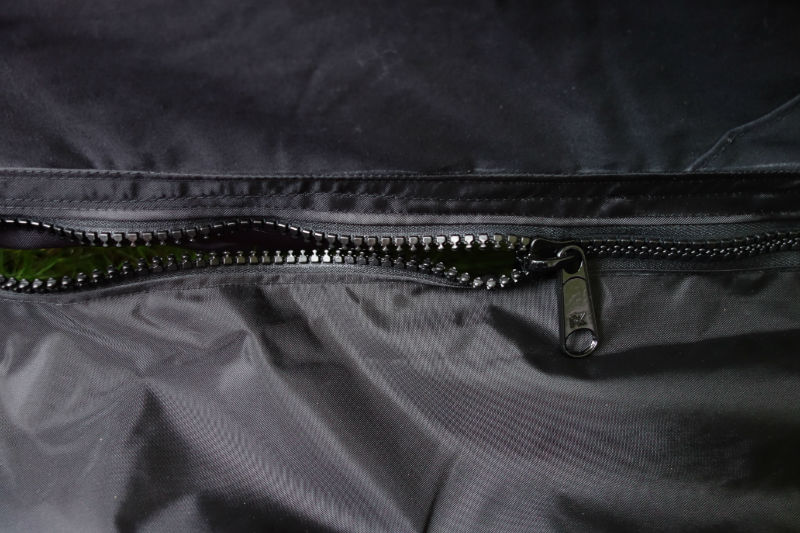
8 Zip in place
9 Flaps attached
10 The finished job – dry and secure
MATERIALS
- 8m neoprene-coated nylon, black (code NN1)
- 3m medium-weight general-purpose coated Oxford polyester, black (code GPW4)
- Black Gutterman RP60 polyester thread
- 4 x 10mm zips (various lengths)
- 100/16 heavyweight sewing needles
- Chalk sewing pencil
- Sewing ruler
- Sewing scissors and roller cutter
- Tins of soup to hold fabric in place while cutting it!
TOP TIPS
- Draw out your design on a piece of paper and check and calculate your shape and sizes.
- When ordering fabric don’t forget to allow for your seam allowances (2ins for each edge) and the flat felled seam (using ½ins seam you will use 1½ins of fabric).
- Use a chalk pencil to mark all your seams so you know where to sew. Your seams will be even and accurate and make fitting much easier. It’s very easy to lose track of where you are sewing and what you are doing – a chalk line is invaluable.
- Use a longer stitch and check your tension before you start sewing.
- Clothes pegs are great to hold fabric in place and saves extra puncture holes from loads of pins.
- Take your time! Sew steady and sew slow.
Have you got a DIY project you’d like to share?
Contact us with details of your job – big or small!

Recent Updates
Our family camping checklist: everything you need to pack
Sure, you’ve packed the tent and the sleeping bags – but what about slip-on shoes and glow sticks? These are the family camping essentials that you ...
Our guide to planning the perfect camping road trip
Roll down the window, pop on those shades and crank up the volume – it’s time for a road trip. Get ready for ...
Camping in Europe: our 12 top tips
If you’ve not camped in Europe before, there’s a few tips and tricks you’ll need to avoid some continental ...
Solar power for camping: all you need to know
Staying connected in the great outdoors is easier than ever with a solar charger – or is it? How reliable are ...
Wild camping kit list: everything you need for your next adventure
Make sure you’re ready for anything with this list of lightweight camping gear and clothing, including ...
Camping furniture: all you need to know to make your tent a cosy haven
We delve into the essentials of camping chairs, camping tables, and kitchen and bedroom furniture, ensuring ...
Camping lights for tents: What you need to know
We will guide you through all the lighting options available for you and your tent, including interior ...
Camping kitchen: all you need to know
In the great outdoors, a well-equipped camping kitchen transforms mealtime into a delightful adventure ...
How to pack away your camping gear for winter
A complete guide to packing and storing your gear at the end of the season ...
Camping guide to trailers
Trailer stash or trailer trash? Being able to carry lots of other gear when you go camping isn’t such a bad ...
Other Articles
Winter camping: all you need to know to keep warm
Winter doesn’t have to mean the end of the camping season. With good preparation and the right gear, there’s no reason why you can’t camp all year ...
Camping toilets: a complete guide
If you are wild camping, camping off-grid or the campsite you book onto doesn’t have toilet facilities, you ...
Top tips for camping in windy weather
How to make sure your tent stands up to gusty conditions ...
Camping tents: a complete guide
If you're considering buying a camping tent, whether it's your first time or you're a seasoned camper, making ...
Camping sleeping bags and beds: a complete guide
When it comes to camping, there's one essential item that can make or break your outdoor adventure: the ...
Camping gas: how to use gas on the campsite
A complete guide to using camping gas appliances safely on the campsite, from choosing the right stove to ...
Camping storage: a complete guide
Having problems knowing where to put all your gear when you're camping? Read our top tips and see some great ...
Camping electric hook-up: a complete guide
This is everything you need to know about using electricity on a campsite, including how to hook up ...
How to pack all your camping gear into your car
Planning a family camping holiday? Find out the best way to fit all the kit you need into your car boot, roof ...
Camping stoves and cookers: the complete guide
Camping stoves are an essential part of any outdoor adventure, allowing you to prepare meals and hot drinks ...